Team ID is how we define certain access levels amongst our users, which most often manifests in area control, allowing campus administrators to determine which users can travel to what rooms, as well as organize and moderate their users. Those users without access will not see the room on their GO TO menu. Team IDs range from A through BZ, for a total of 78 options you can choose from to sort out your user base better.
Team ID management is completely up to you and how you would like to organize it. Some good ideas that our customers have utilized include:
- Granting temporary access to specific rooms during events.
- Additional security alongside member access levels such as moderator, leader, or owner.
- External visitors and internal employees.
- Differentiating attendees from different organizations.
- Special "green room" access for speakers to test their microphones and other setup prior to their speech.
- Bulk import, update, or delete all users with the same team ID.
Changing a User's Team ID
A campus admin can assign a Team ID in the Import tab of the dashboard while managing individual or bulk members. If they want to change individual users or check a Team ID, they can do so by logging into the dashboard and navigating to the member tab of the admin panel.
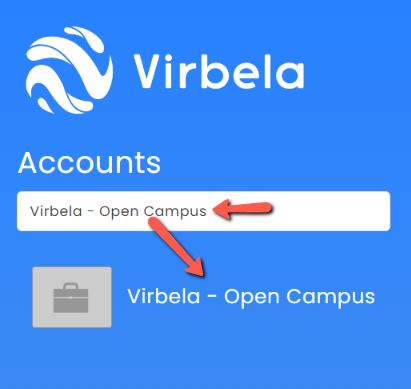
Once you log in to the dashboard, select your campus from the list.

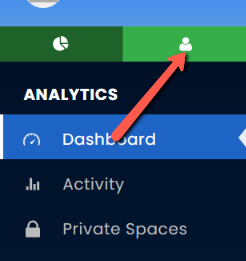
Then, click the person silhouette to enter the admin panel.
Look up the user whose Team ID you'd like to change by typing their name or email address into the search bar. Once you've found them, click the Team ID field to the right of their name, in the Team ID column.
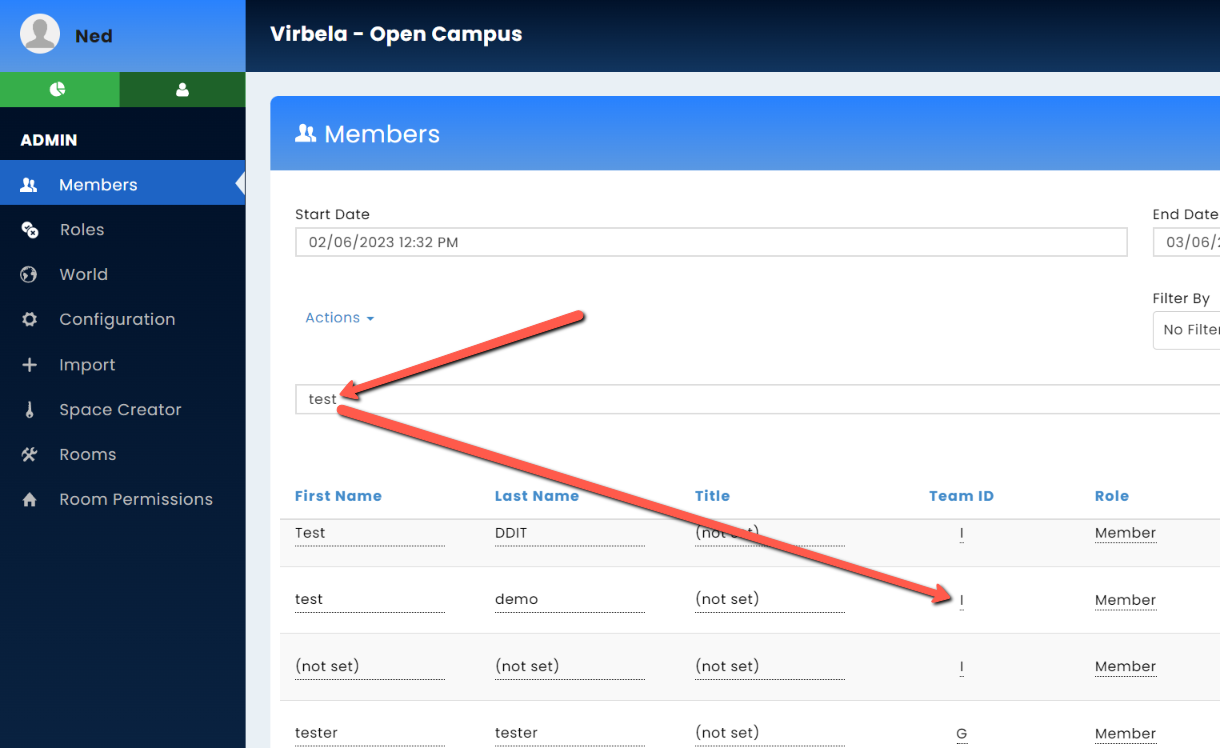
Clicking the Team ID letter opens a dropdown menu, from which you may select what Team ID you would like the user to have. Team ID I is the default unless otherwise changed at the time of campus delivery.

Changing a room's Team ID access level
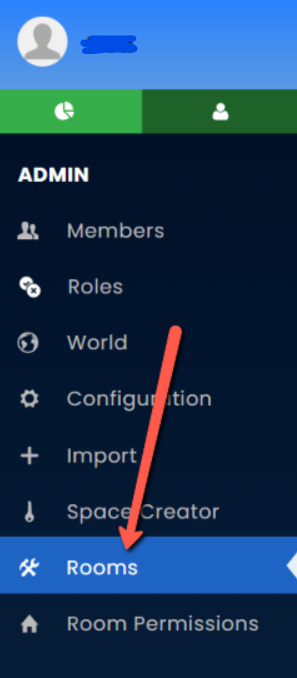
To change the Team ID restrictions for a particular room, a campus owner may log into the respective dashboard as explained above and navigate to the admin panel.

From the admin panel, select the Rooms page.
From the Rooms page, select the Room you'd like to edit. A panel will pop out on the right with more configuration options. Click "Show optional fields".
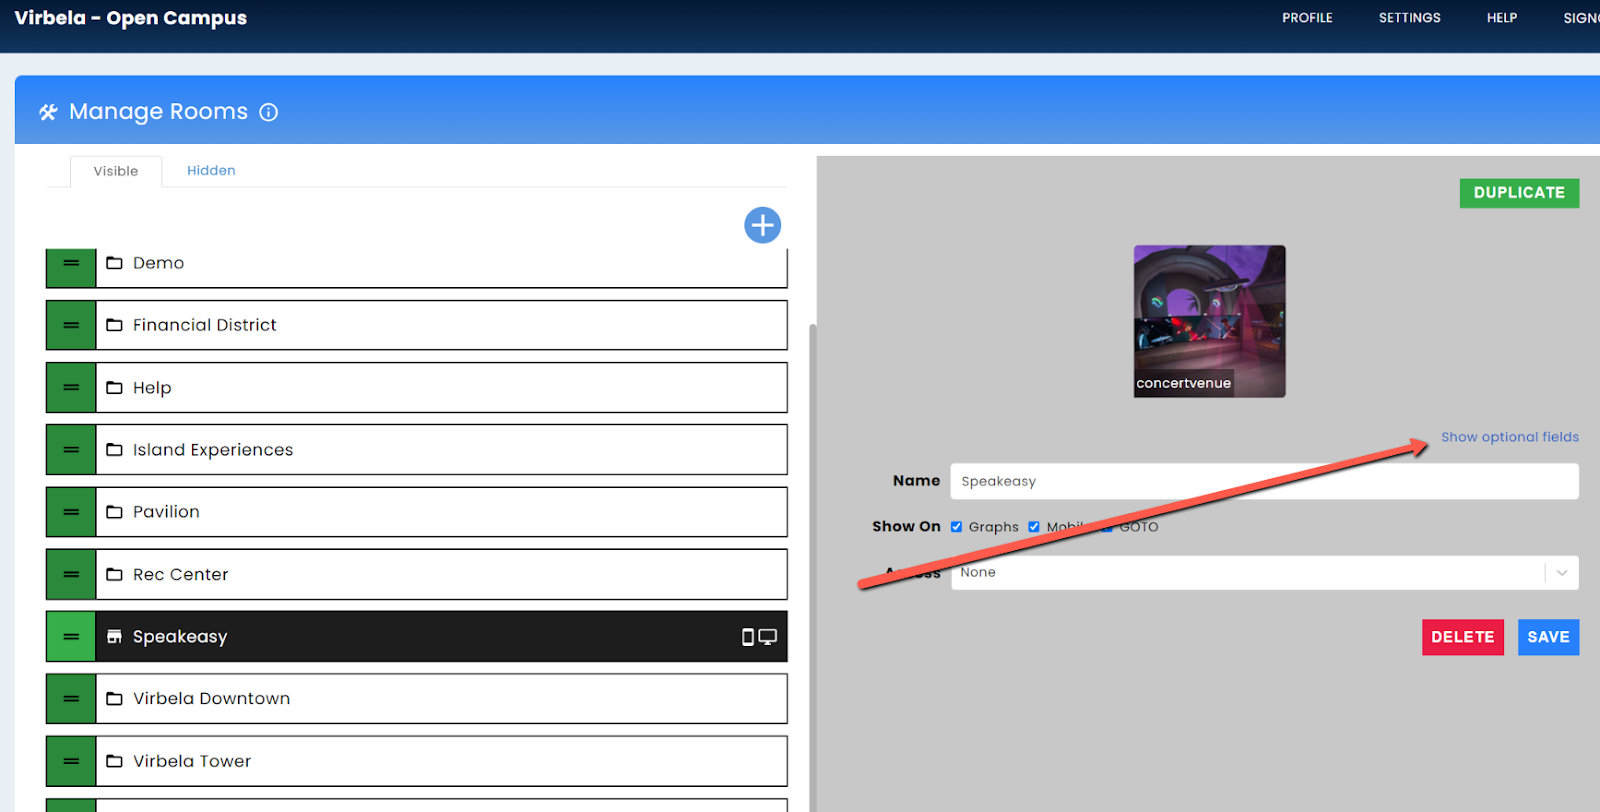
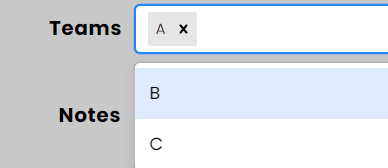
On this page, in the Teams field, you can click where it says (by default) "None" to reveal a drop-down box filled with Team ID letters. Feel free to apply however many Team IDs as you would like.
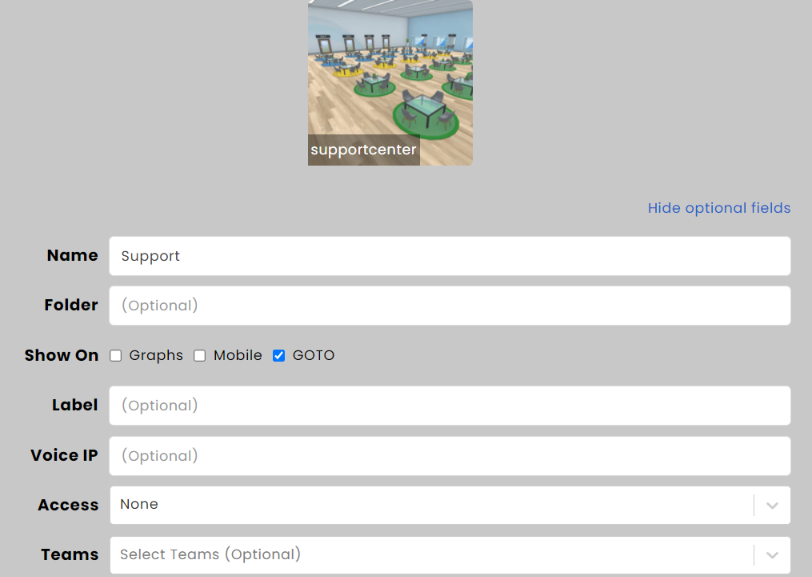
Once you are done, be sure to click the "Save" button in the bottom right corner to confirm your changes.