Purpose
The space management portal allows owners of private spaces to manage their private spaces. private space owners and admins can use the space management portal to:
View all private spaces owned by the owner across all campuses in their region
Update the name and description of the private spaces
Invite users to the private space
Manage user roles and delete users
Manage the passcodes of the private spaces
Control web board permissions within their private space
Run foot traffic report to determine who entered the private space
The user who purchased the private space can currently access the space management portal and users designated with an administrator role.
Please note: private spaces are not created through the space management portal. Please reference Creating a private space on a campus to learn how campus administrators can make private spaces on their campus.
Logging in
private space owners and admins can access the space management portal by visiting https://spaces.virbela.com. private space owners and admins based in Europe can access the portal by visiting https://spaces-eu.virbela.com/.
Log in using username and password
Private space owners and admins can log in using the same login credentials to log in to any Virbela campus.

Log in using Google Single Sign-On (SSO)
In addition, private space owners and admins with Google addresses can use the Google single sign-on (SSO) to log in to the site.
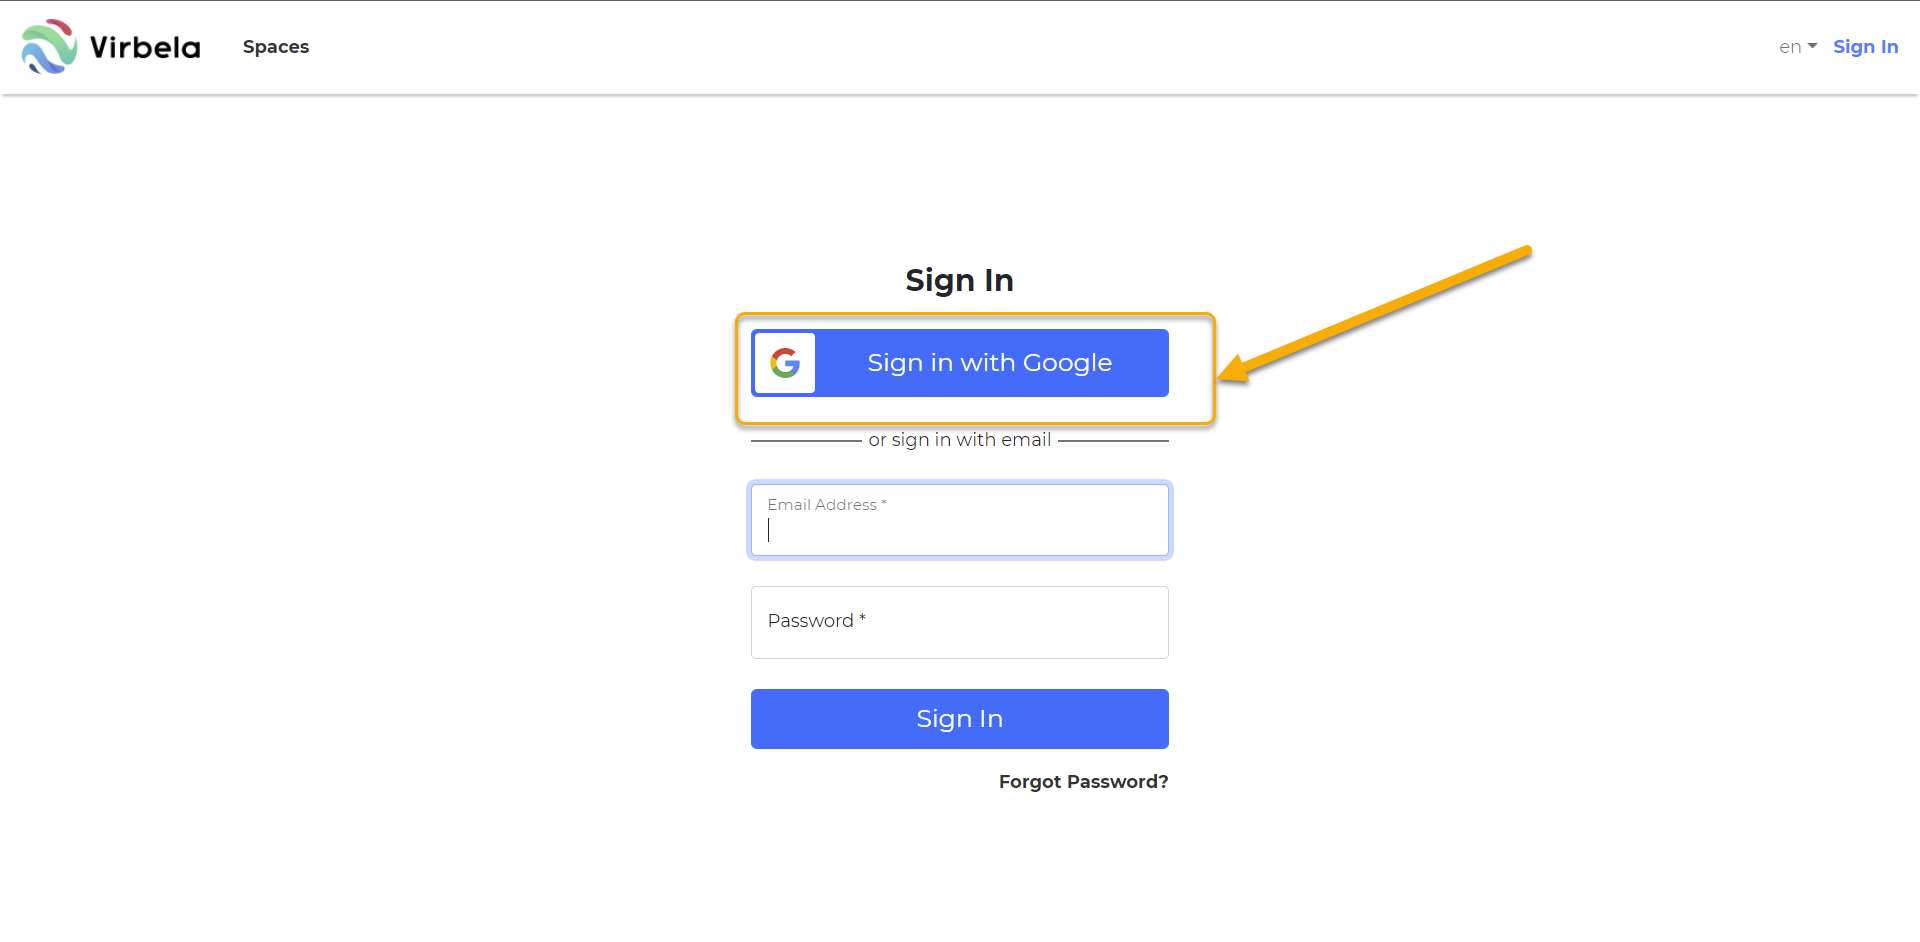
Clicking the “sign in with Google” button takes private space owners and admins to the Google sign-in page.
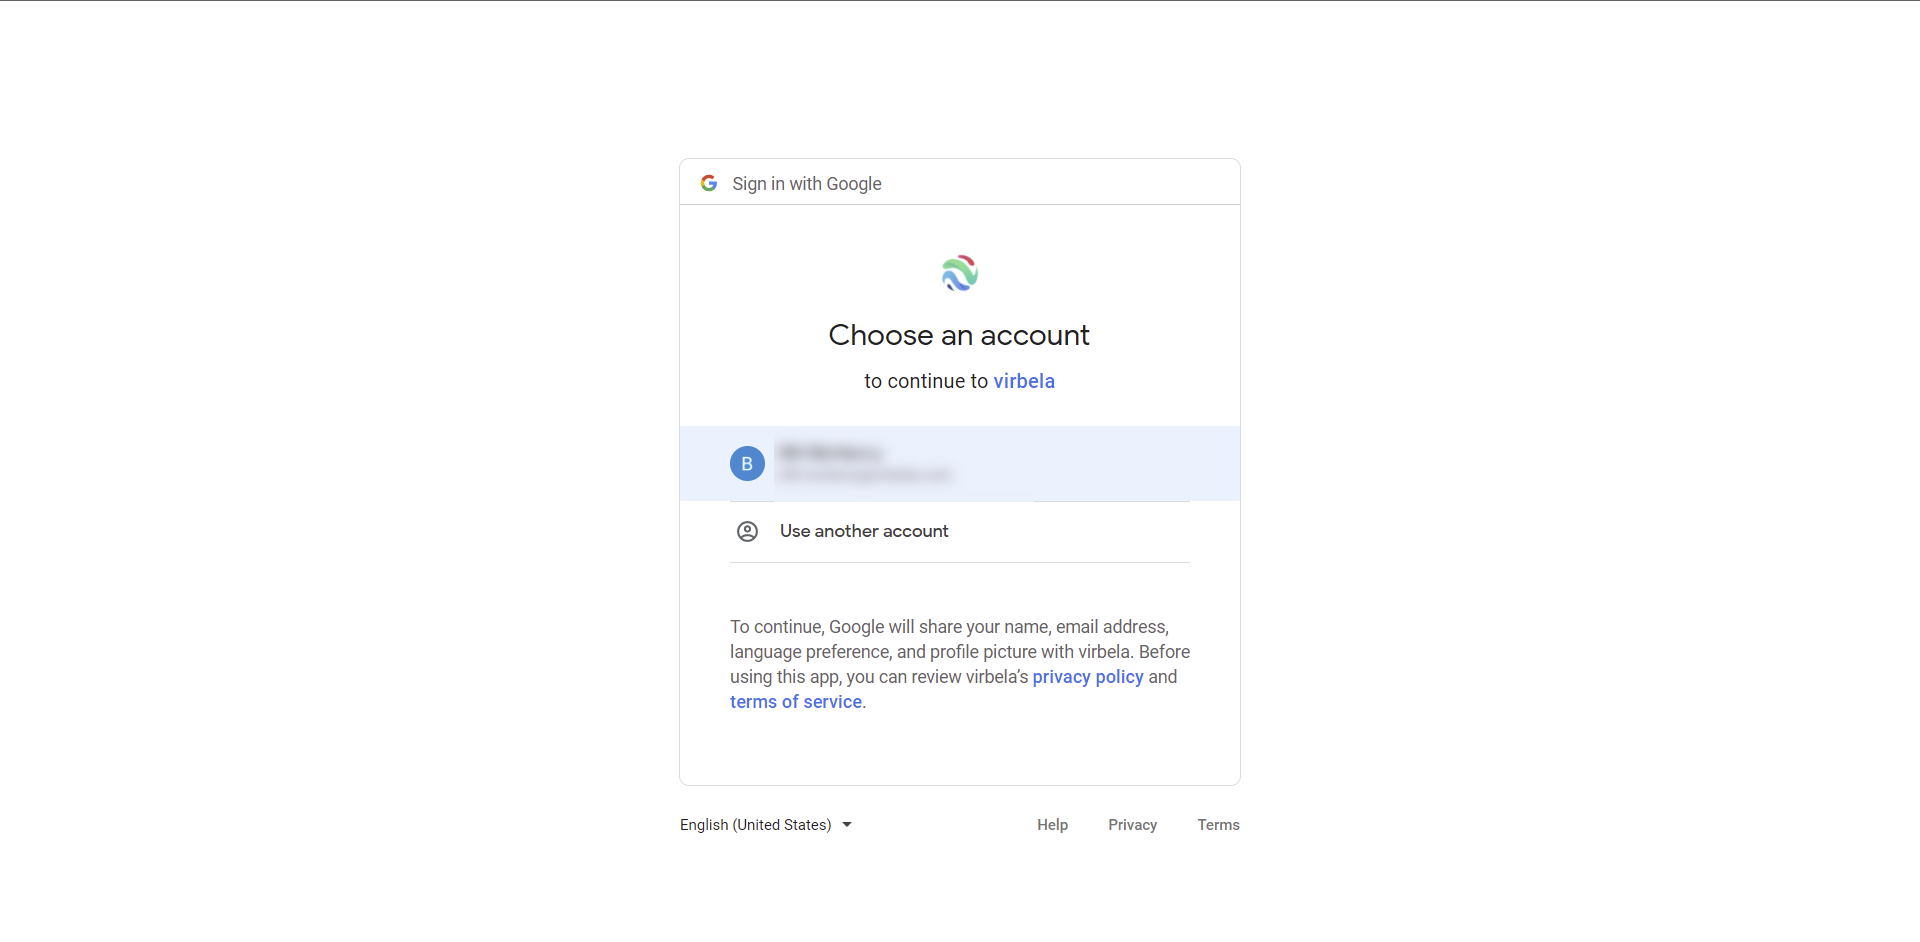
In some cases, Google will ask the private space owner or admin to enter their password. In other cases, it will redirect the private space owner or admin straight into the space management portal.
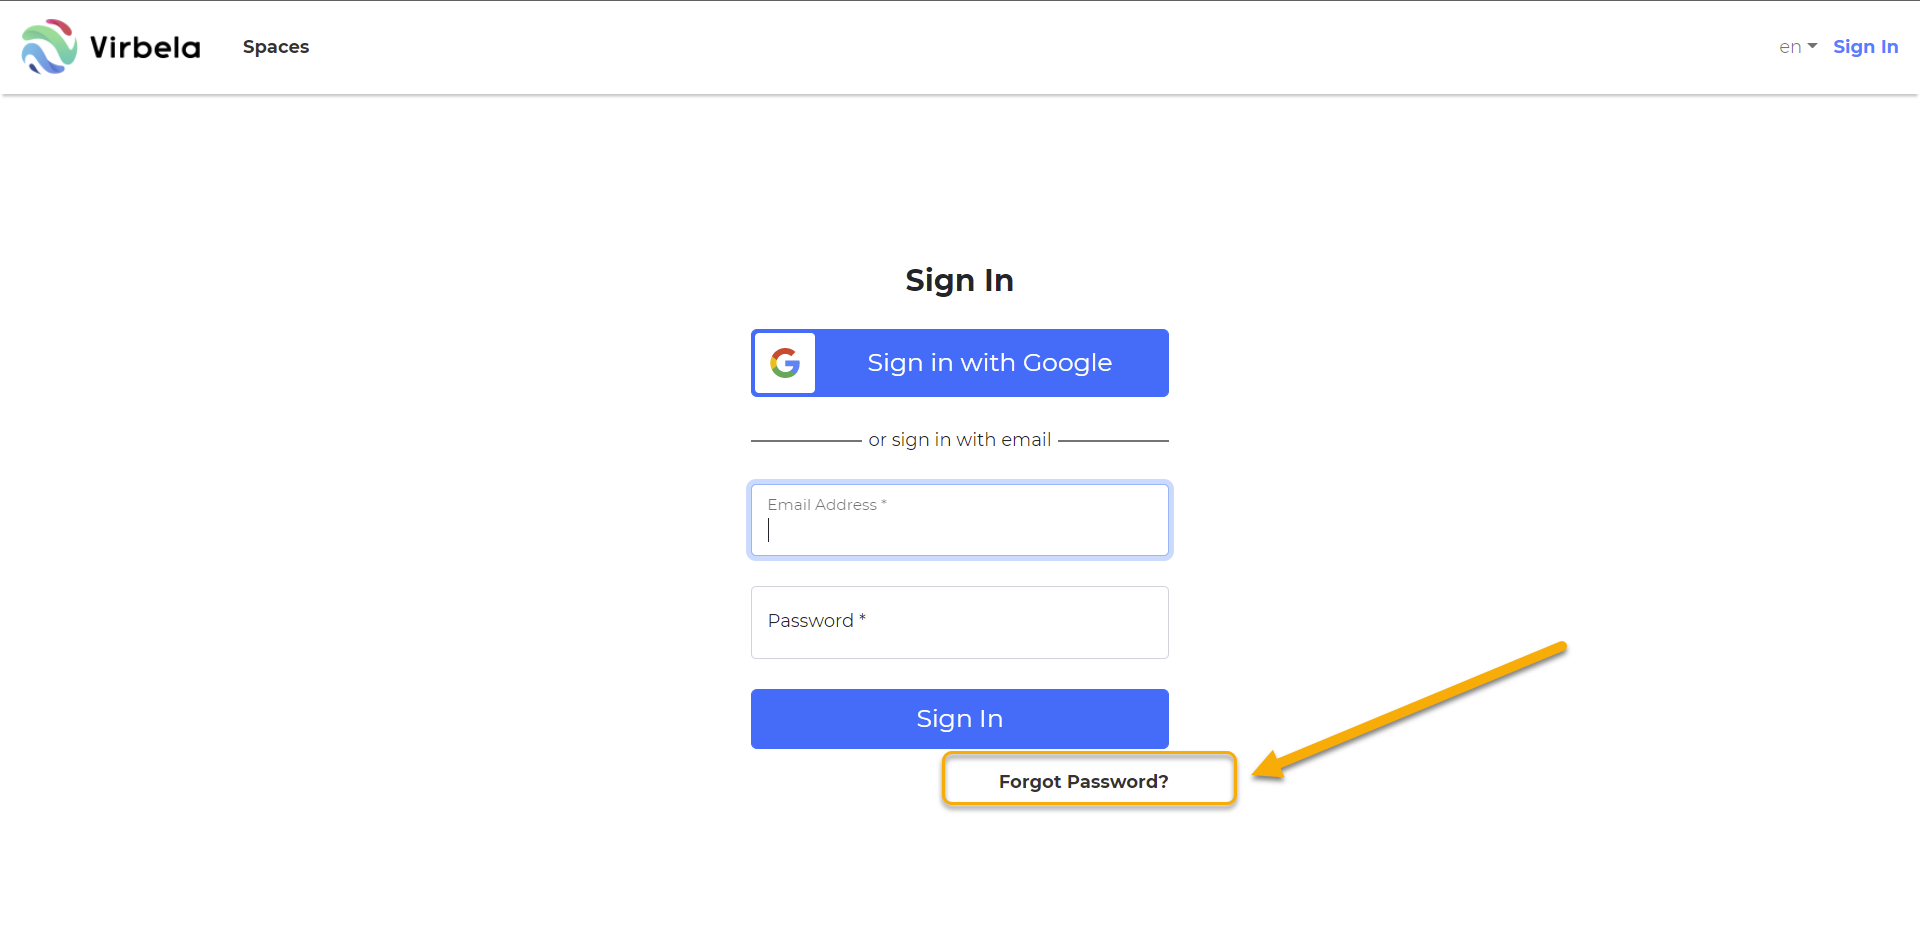
Forgot password
private space owners and admins can select the “forgot password” button if they do not remember their password.
The private space owner or admin can enter their email in the field. If the private space owner or admin entered their email on the previous screen, the form autofill the email on the forgot password screen.
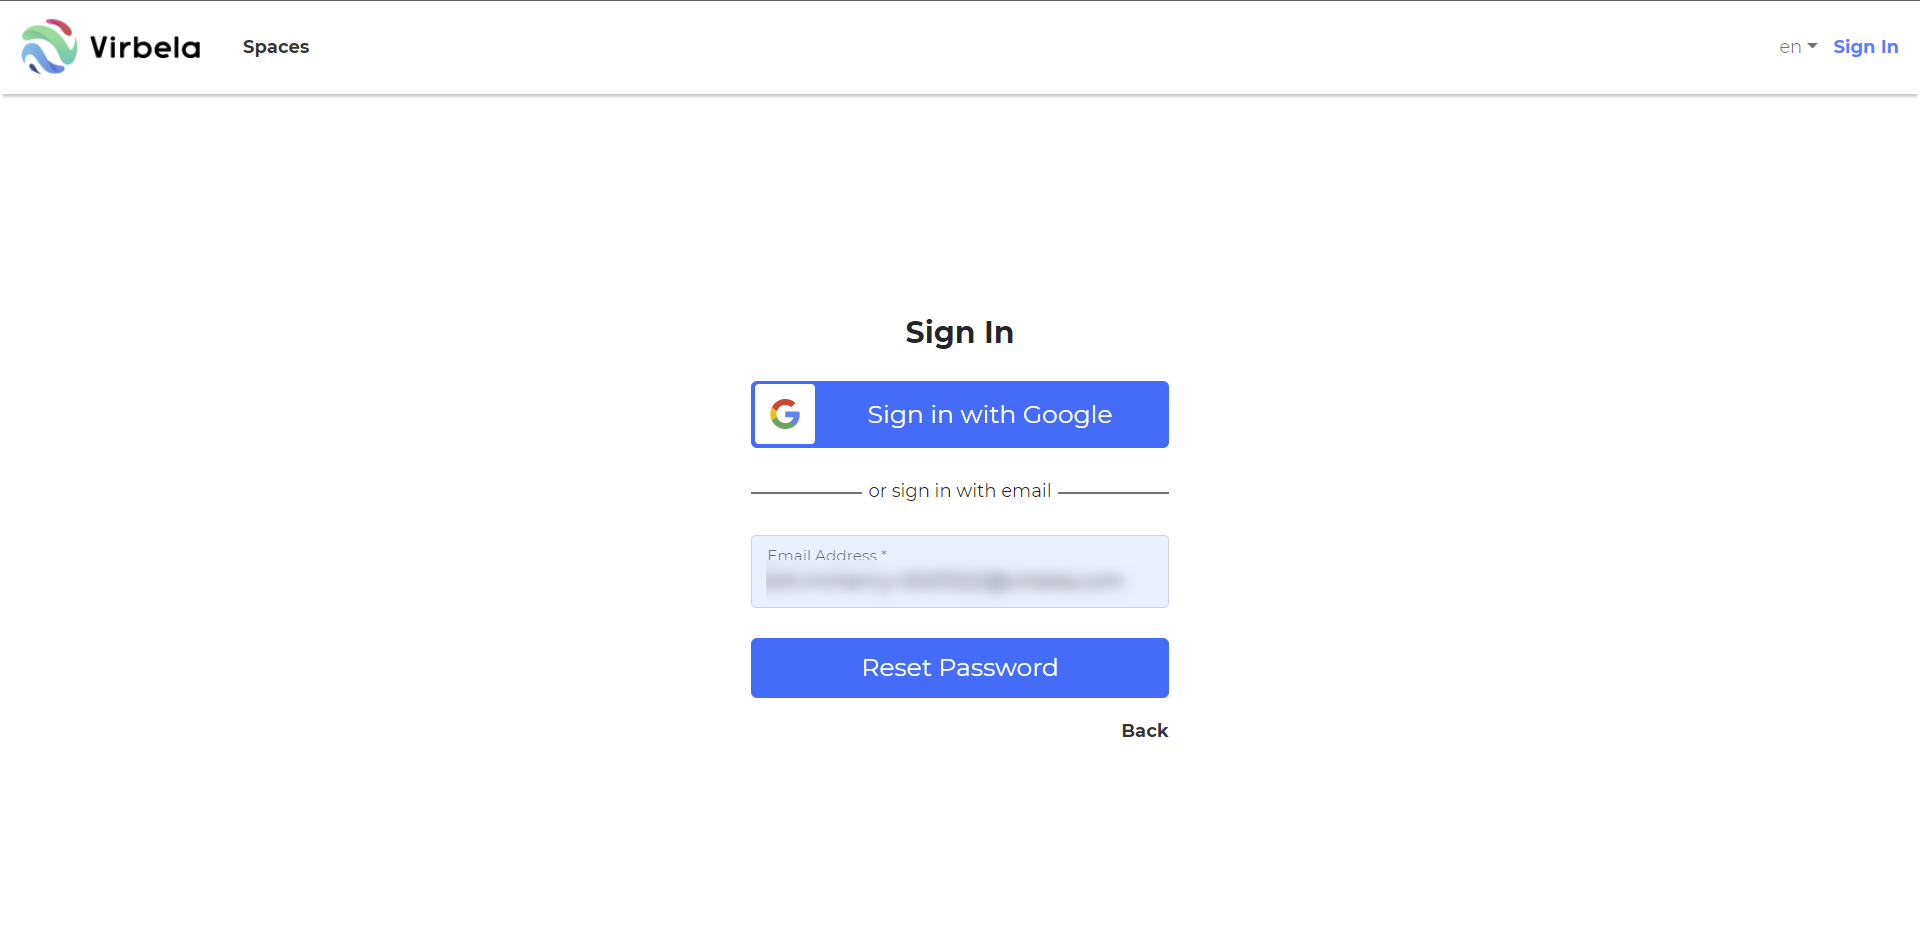
After selecting the “reset password button,” private space owners and admins are redirected to the main sign-in screen.

In addition, the private space owner or admin should receive an email in their inbox:
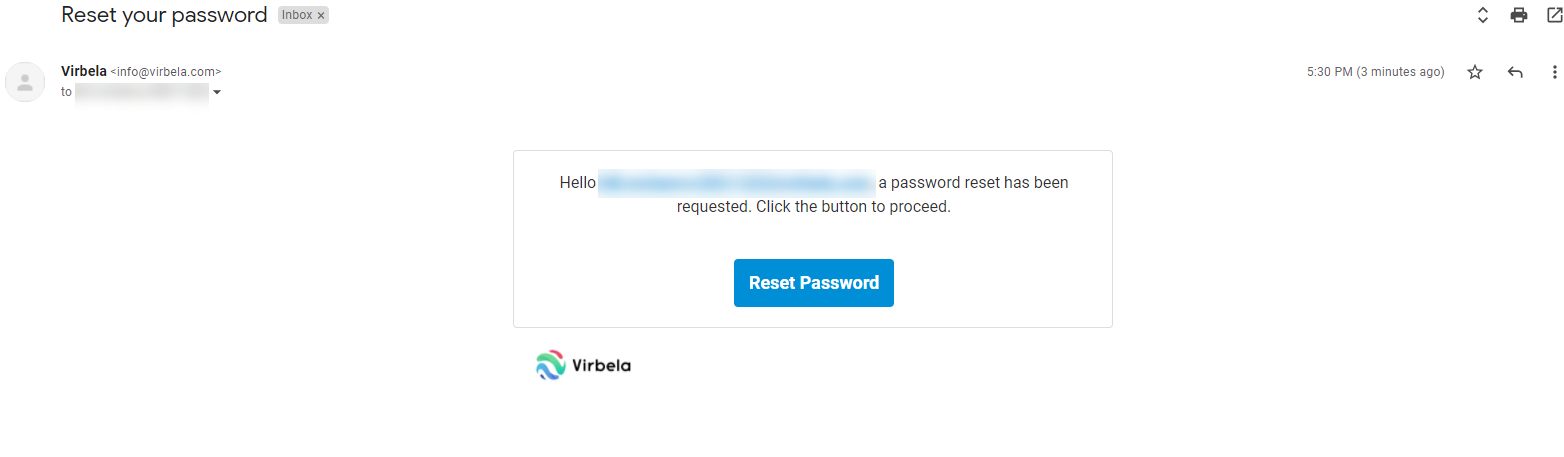
Clicking the “reset password” button should open a new browser and take the private space owner or admin to this page:
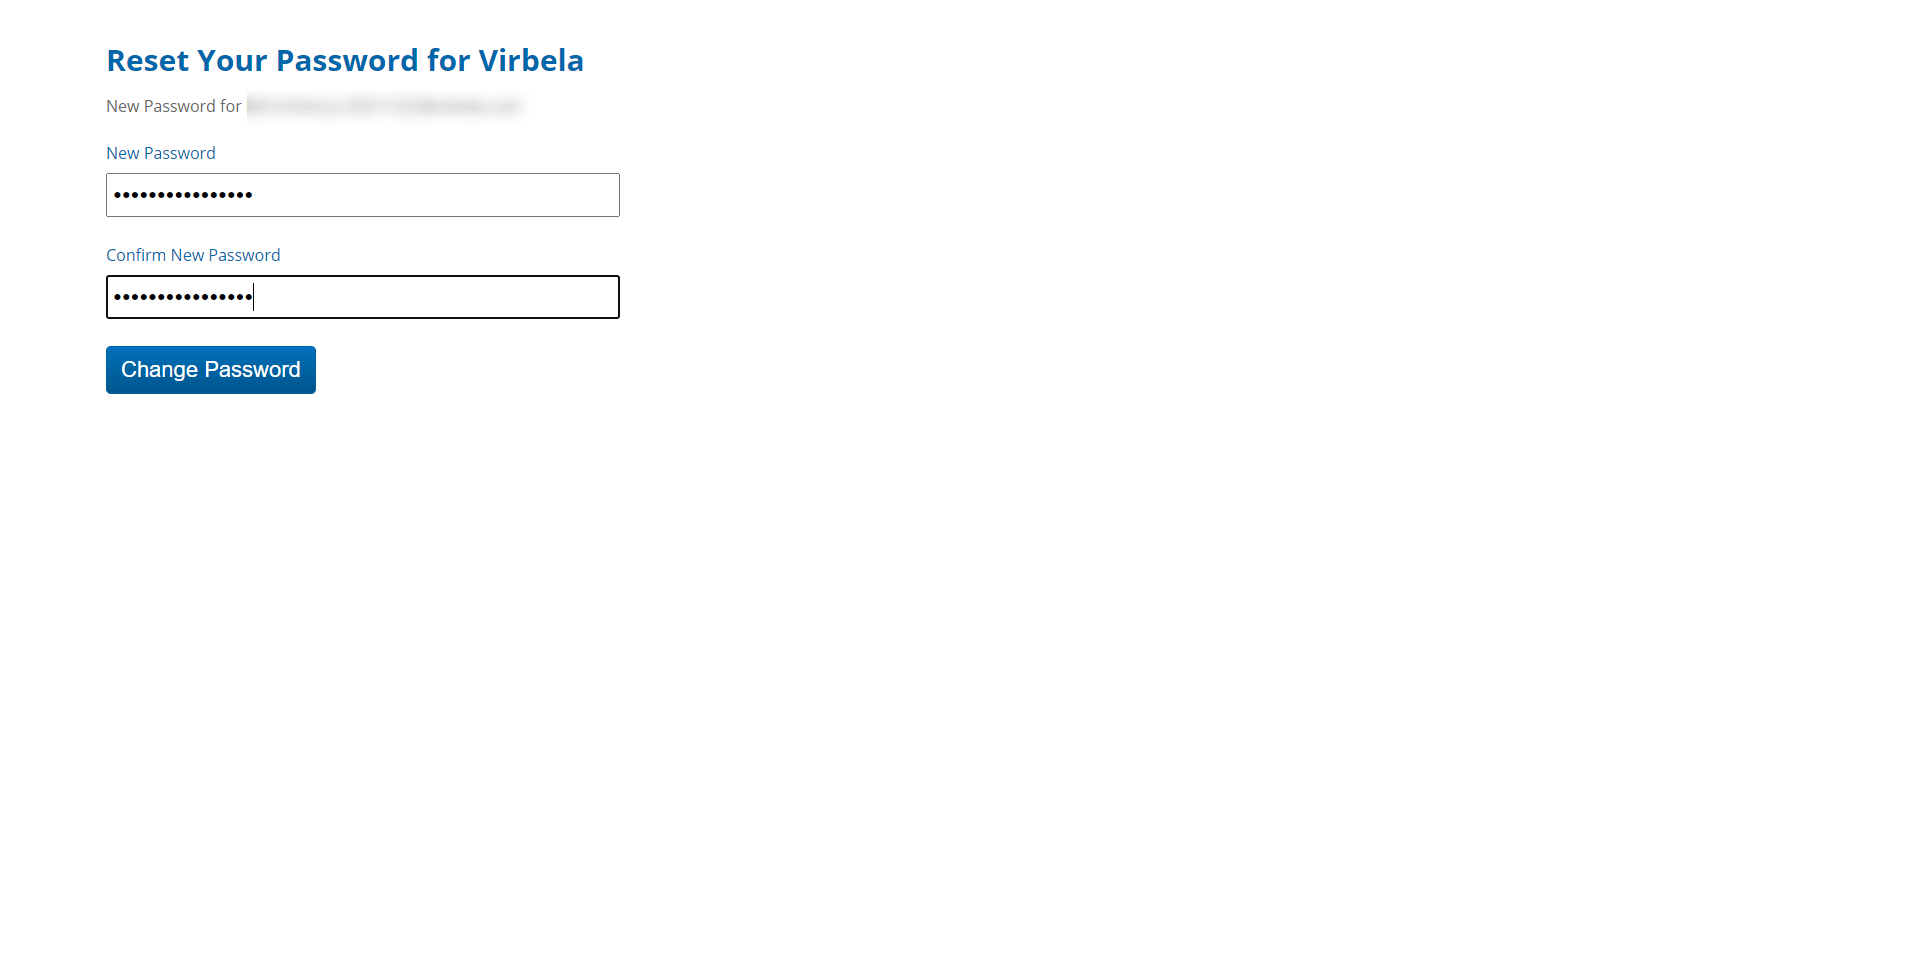
The private space owner or admin can then enter a new password.
NOTE: changing the password updates the private space owner’s password for all Virbela logins, including the campus login, http://app.virbela.com, http://opencampus.virbela.com, and http://spaces.virbela.com.
The private space owner or admin should see a success message after clicking “change password.”

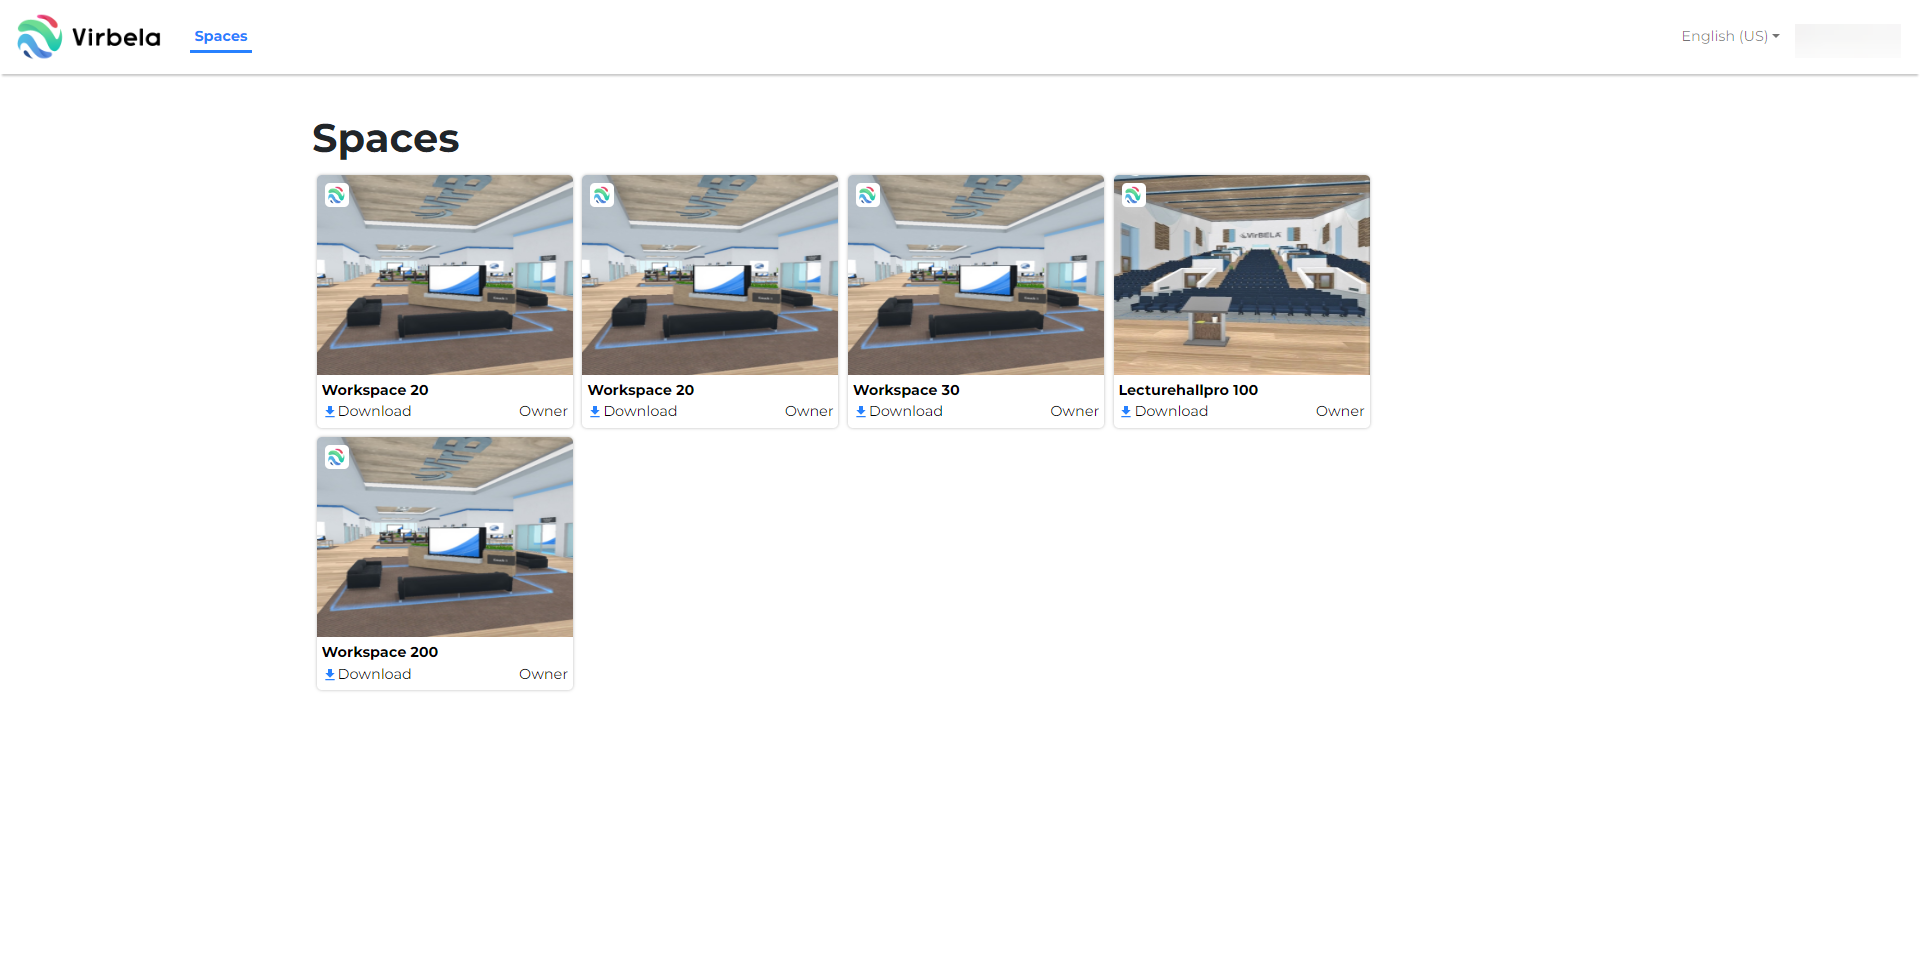
Dashboard: view all private spaces associated with the user’s account
After logging in to the space management portal, private space owners and admins should see all their private spaces. The private space owner or admin can click the box of the private space they wish to manage.
Returning to the Private Space dashboard.
If the private space owner or admin leaves the private space dashboard and wants to return, they need to click “Spaces” at the top of the navigation bar.

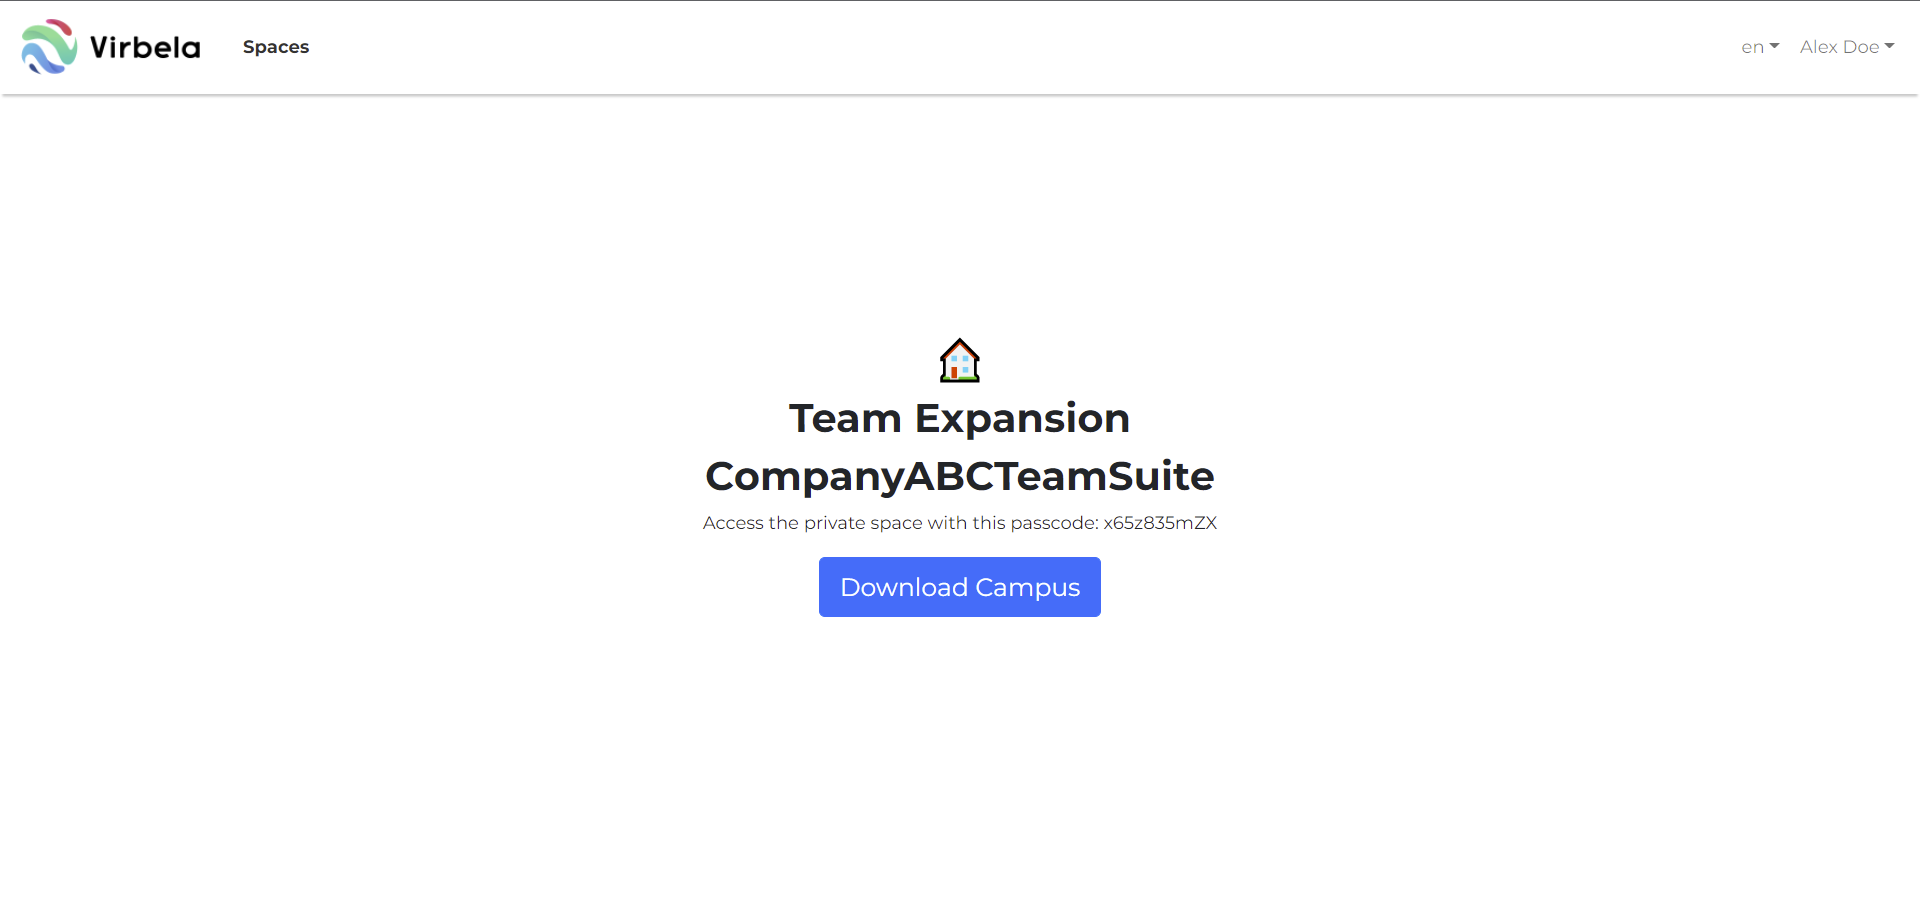
Downloading the campus application
The download button allows the private space owner or admin to download and install the desktop for the campus associated with the private space.
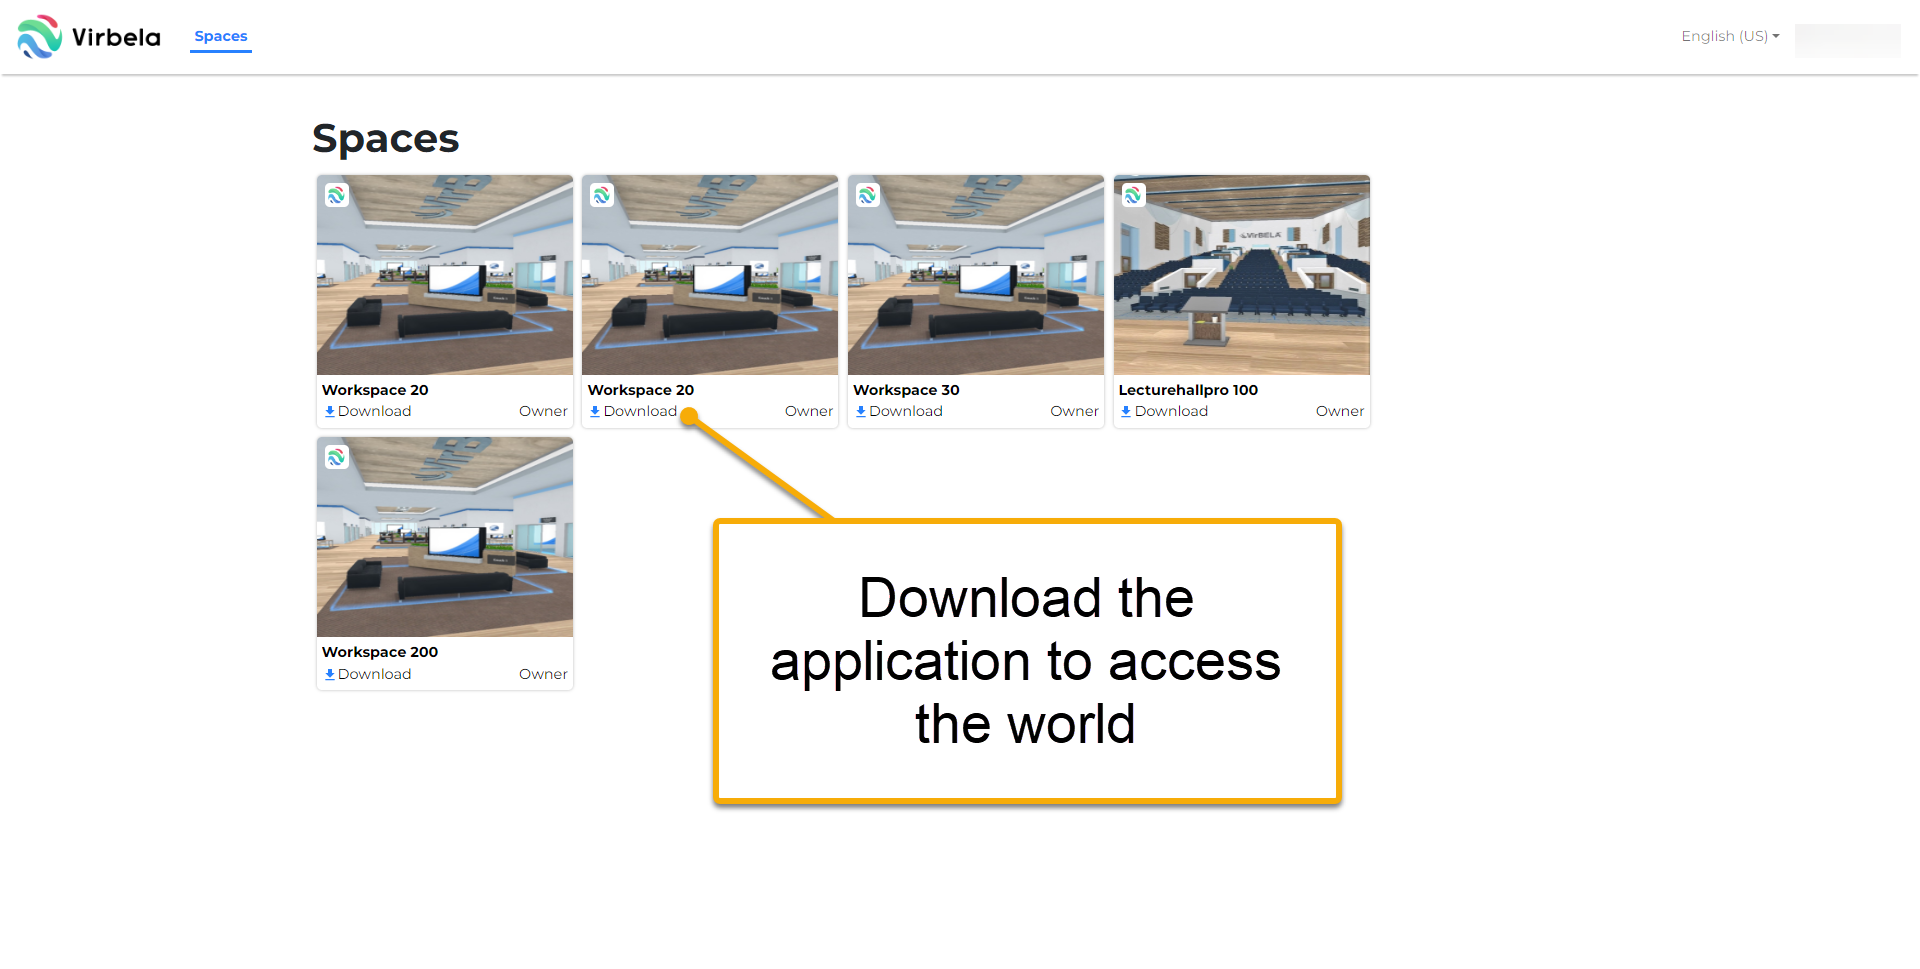
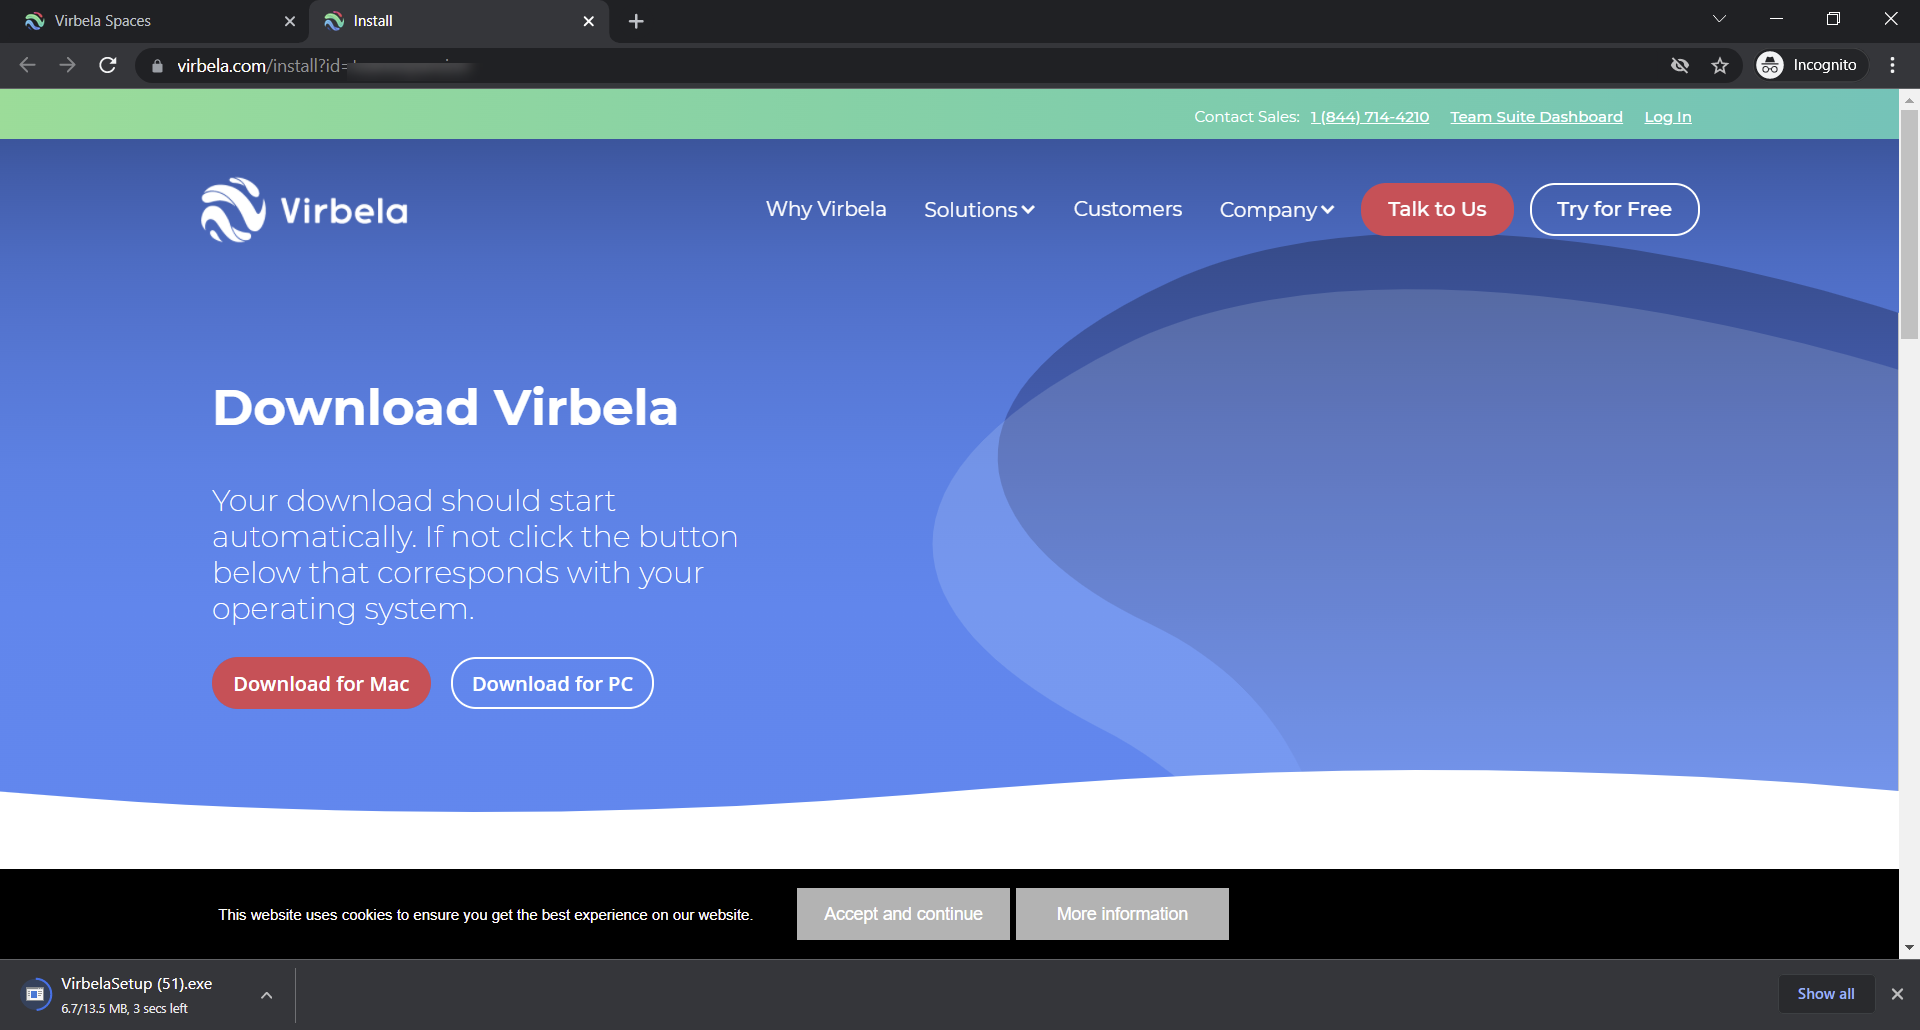
Clicking the download button opens another tab in the private space owner’s browser and takes the private space owner or admin to the download site. The campus download begins immediately.
Managing private spaces
After selecting the private space dashboard, private space owners and admins can manage individual private spaces.
Manage the name and description of the private space
The name of the private space appears in http://app.virbela.com and the GO TO Menu of the campus. Private space owners and admins can control their private space's name using the “Operational Info” tab.
The private space owner or admin can also create a description for their private space. However, this field currently is not used for any purpose outside the space management portal.
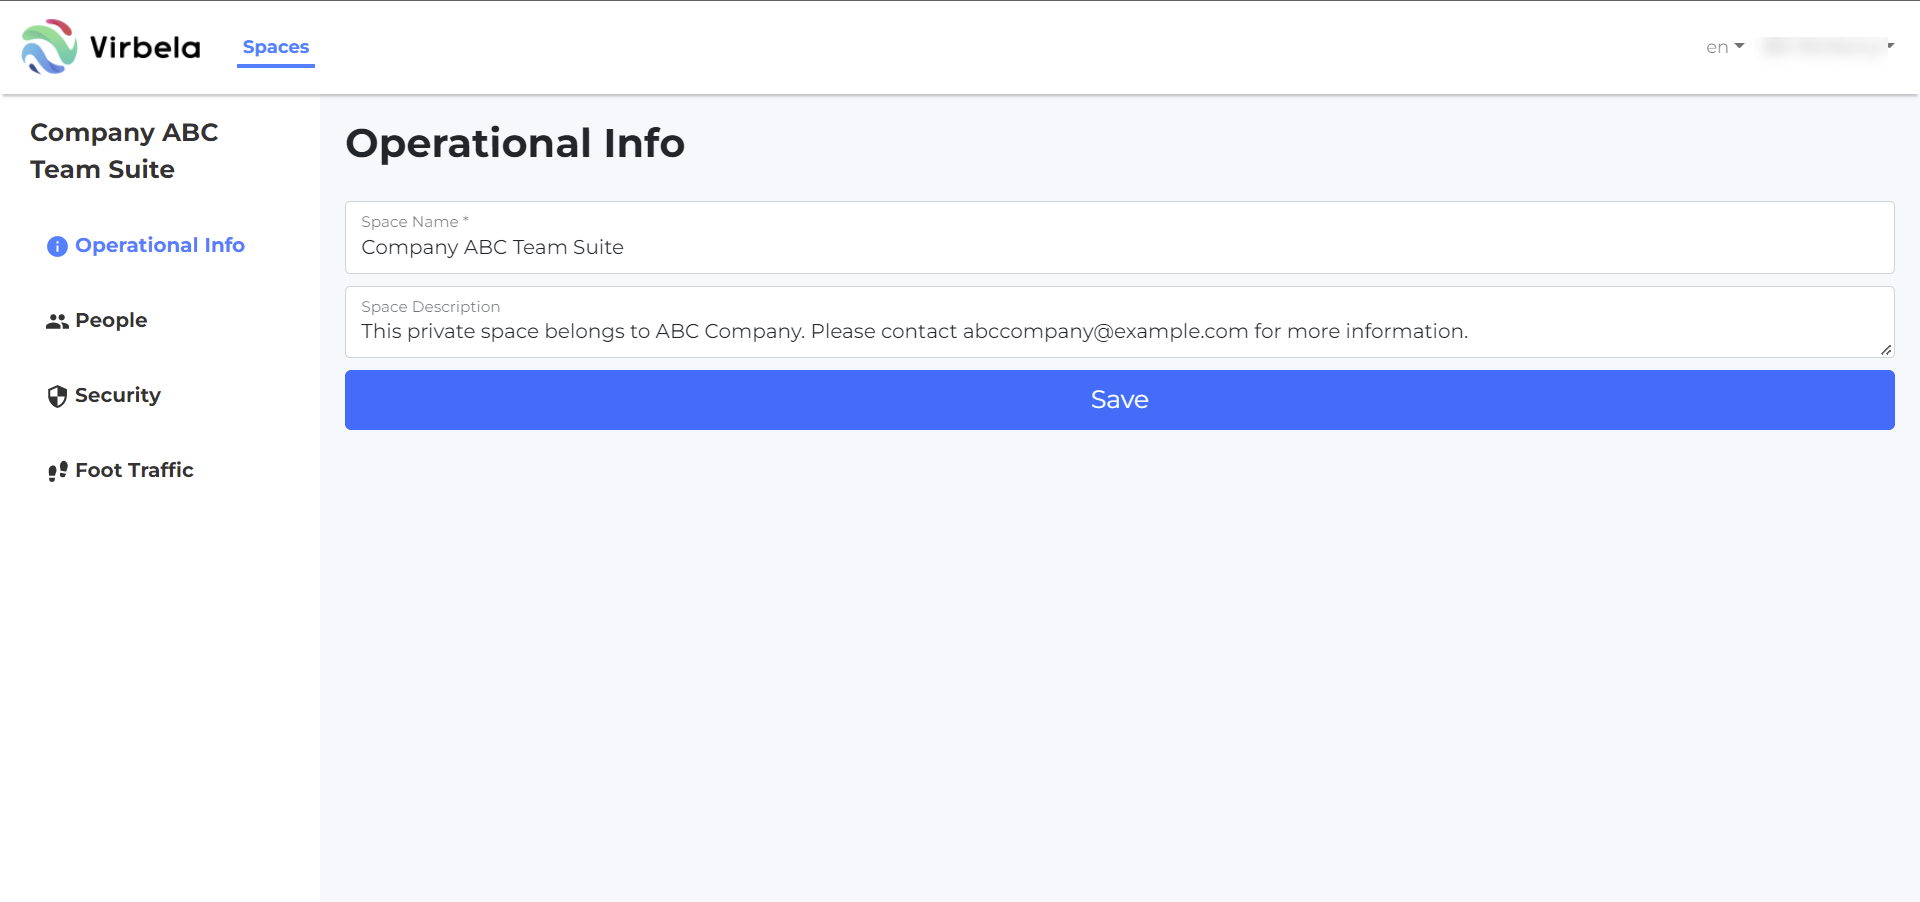
Private space owners and admins must click the “save” button for the changes to take effect.
Virbela supports most characters and letters. The changes appear on the campus after the next restart of the campus.
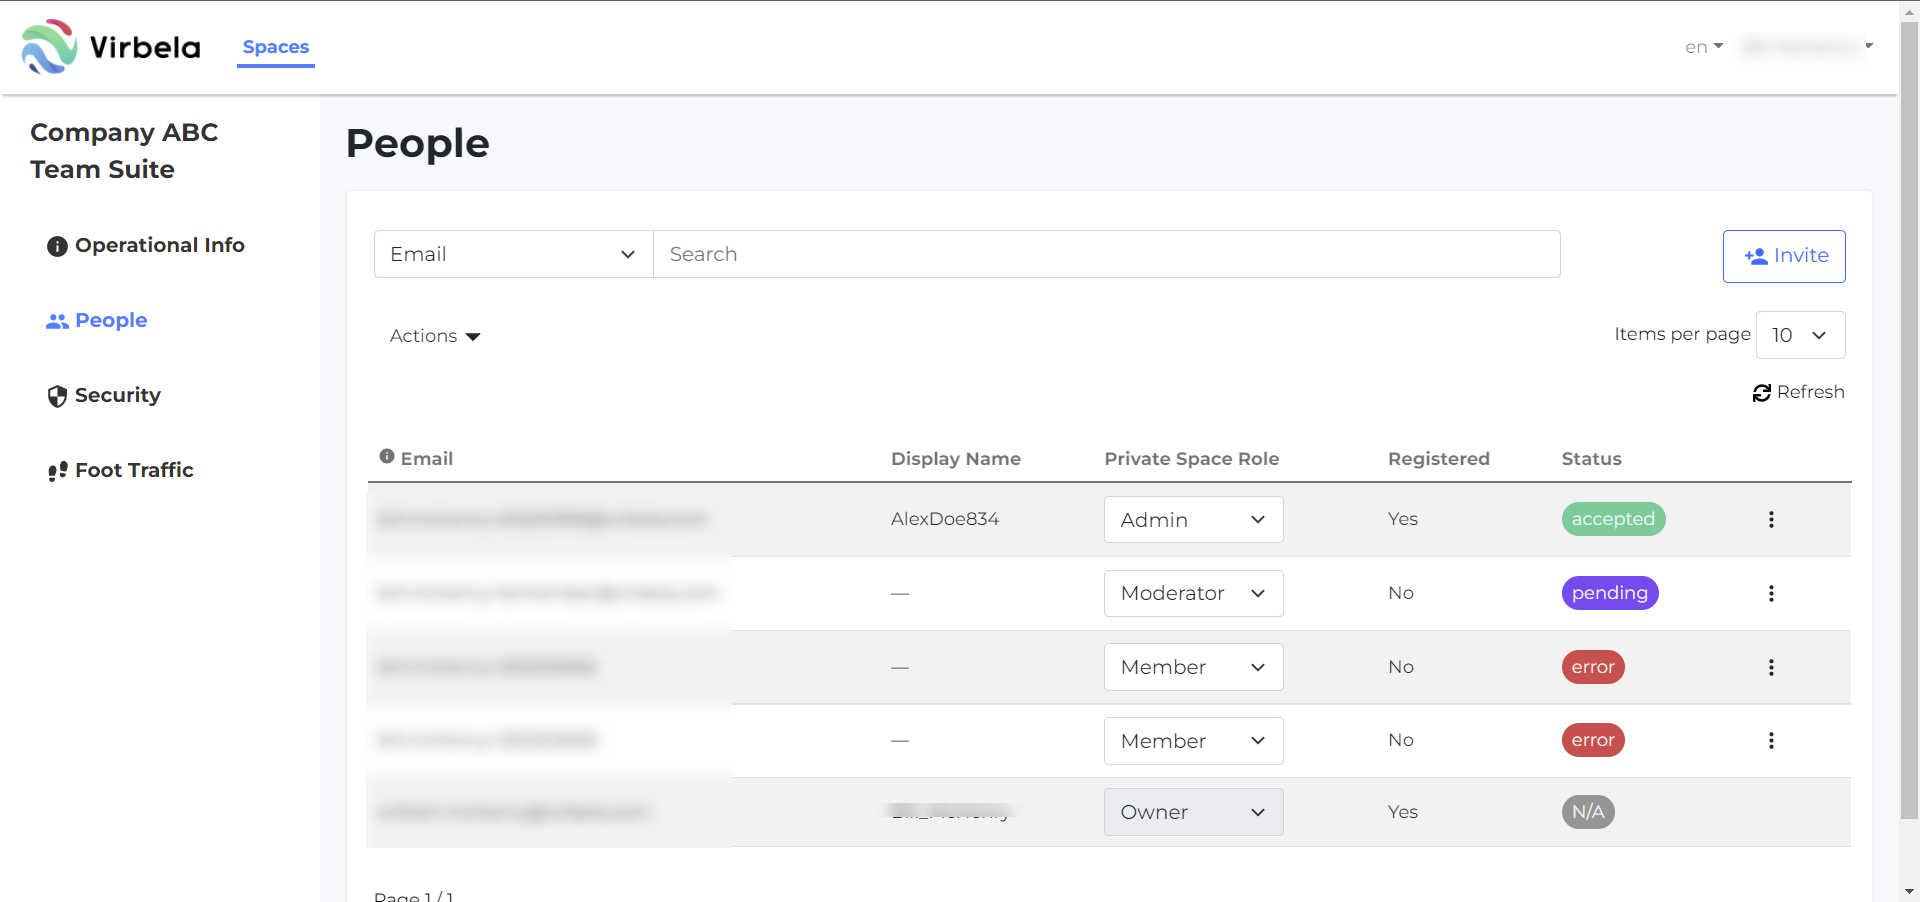
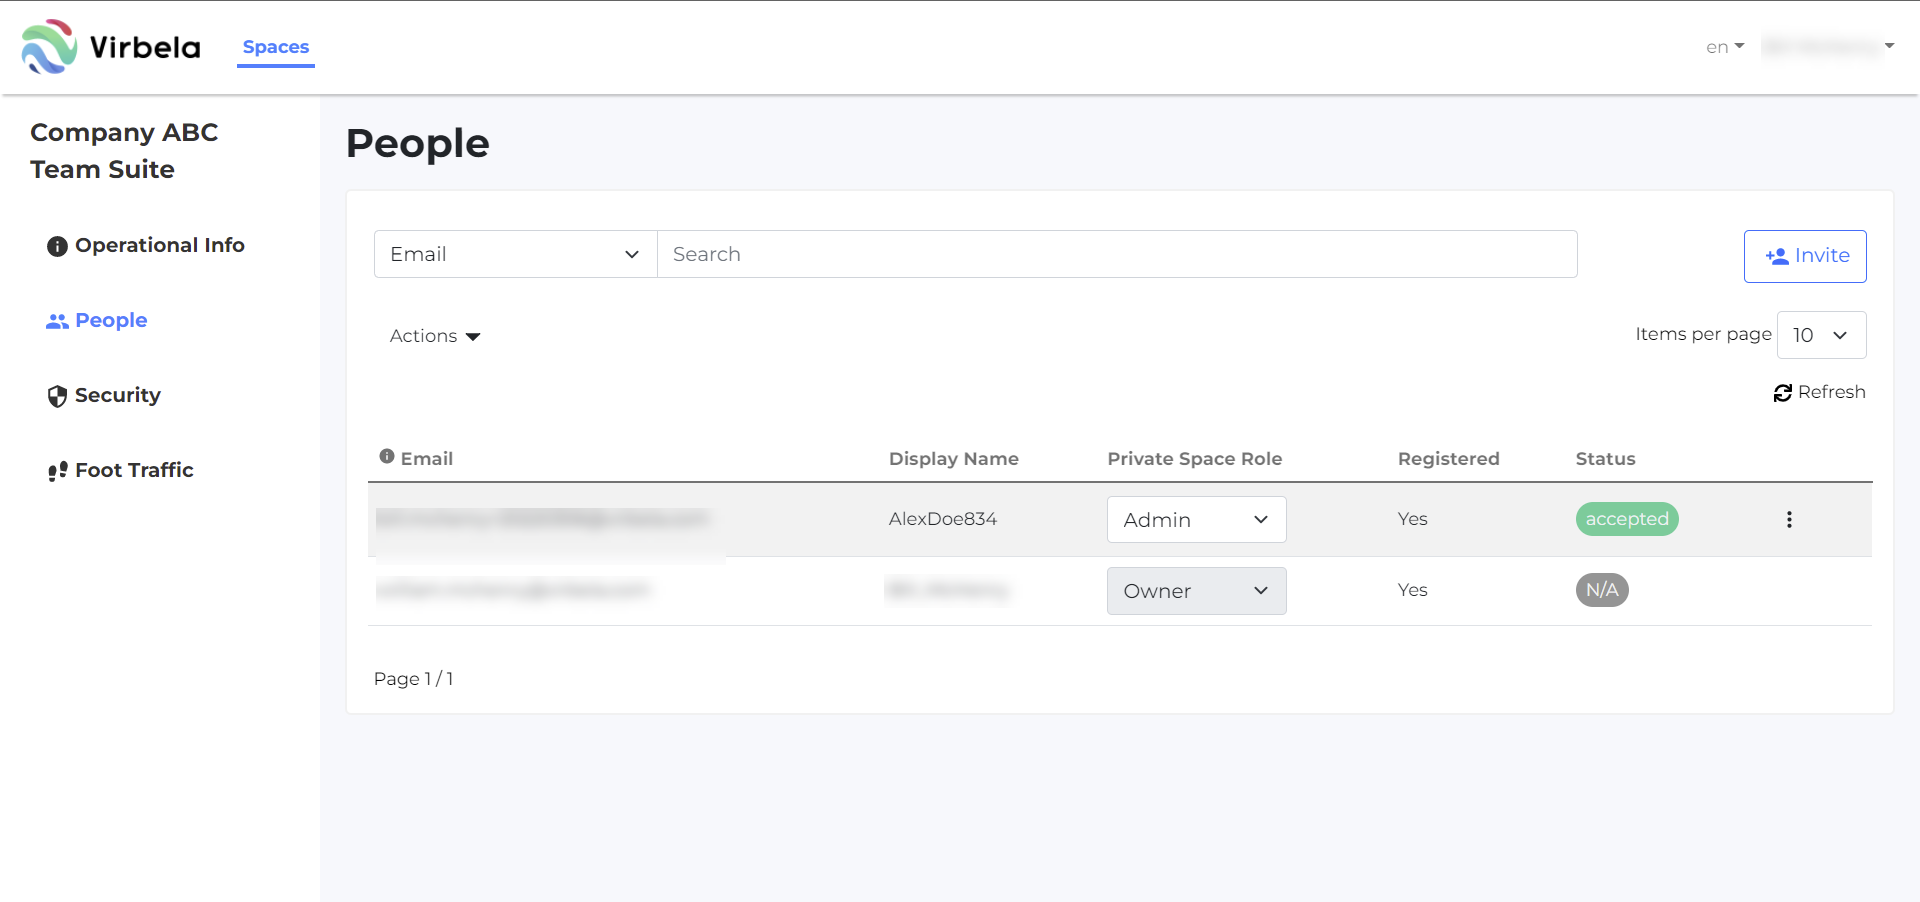
Managing users
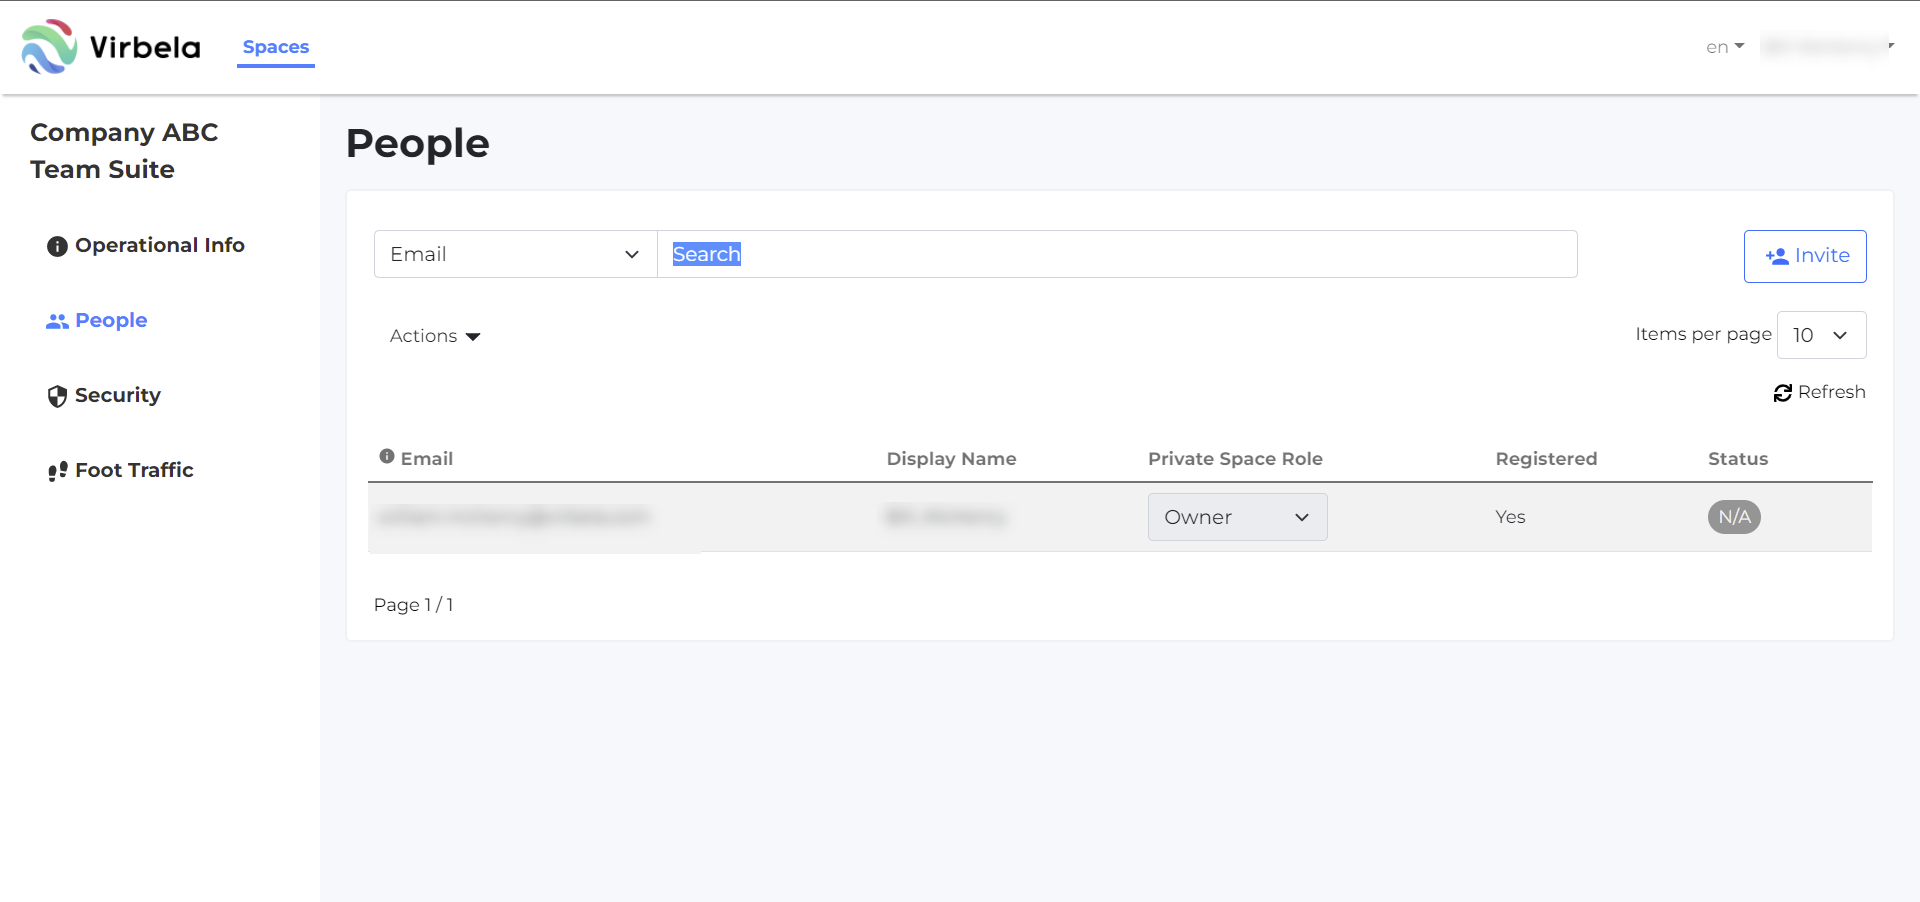
Private space owners and admins can invite and manage users through the People tab. Private space owners and admins can use this tab to invite users one at a time, invite them in bulk, set user roles, and delete users.
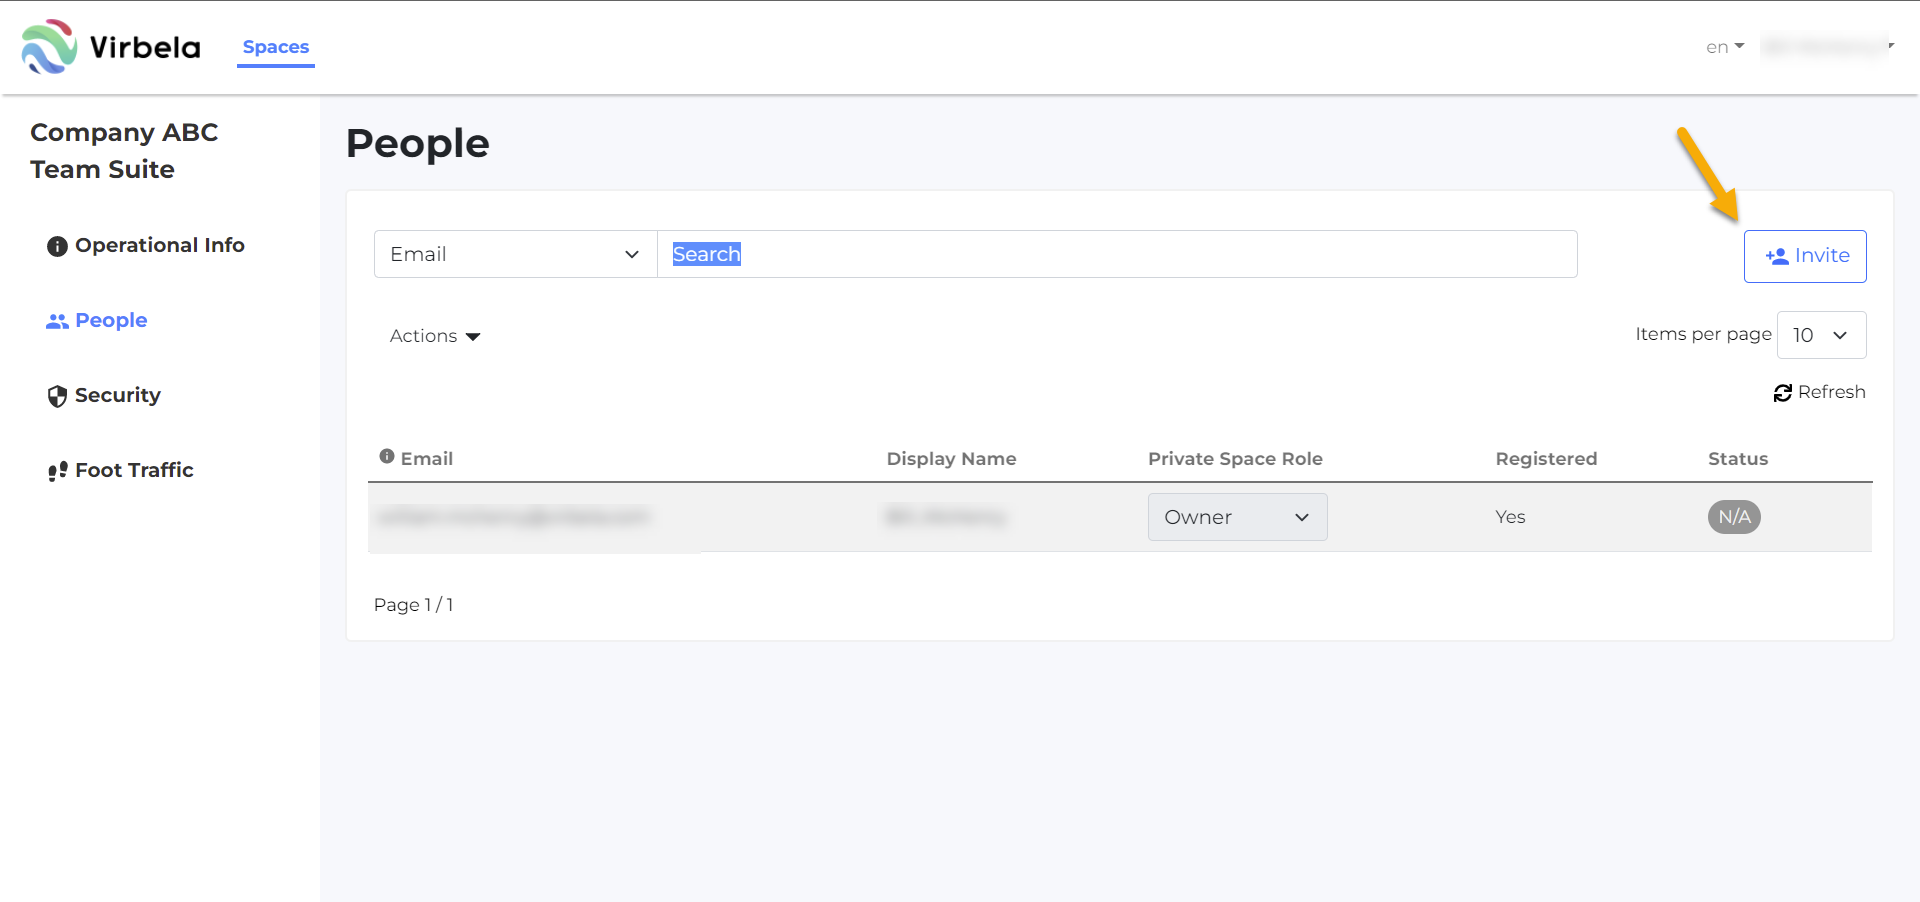
Invite new users individually
Click the “invite” button on the top right to invite a new user.
A new prompt will appear. The private space owner or admin can choose to send an email inviting the new user and can choose which of the two passcodes to include in the invitation email.
Alternatively, the private owner or admin can choose not to send an invitation email. This means the private space owner or admin will have to alert the user outside of Virbela to ensure the user has the information to enter the space.
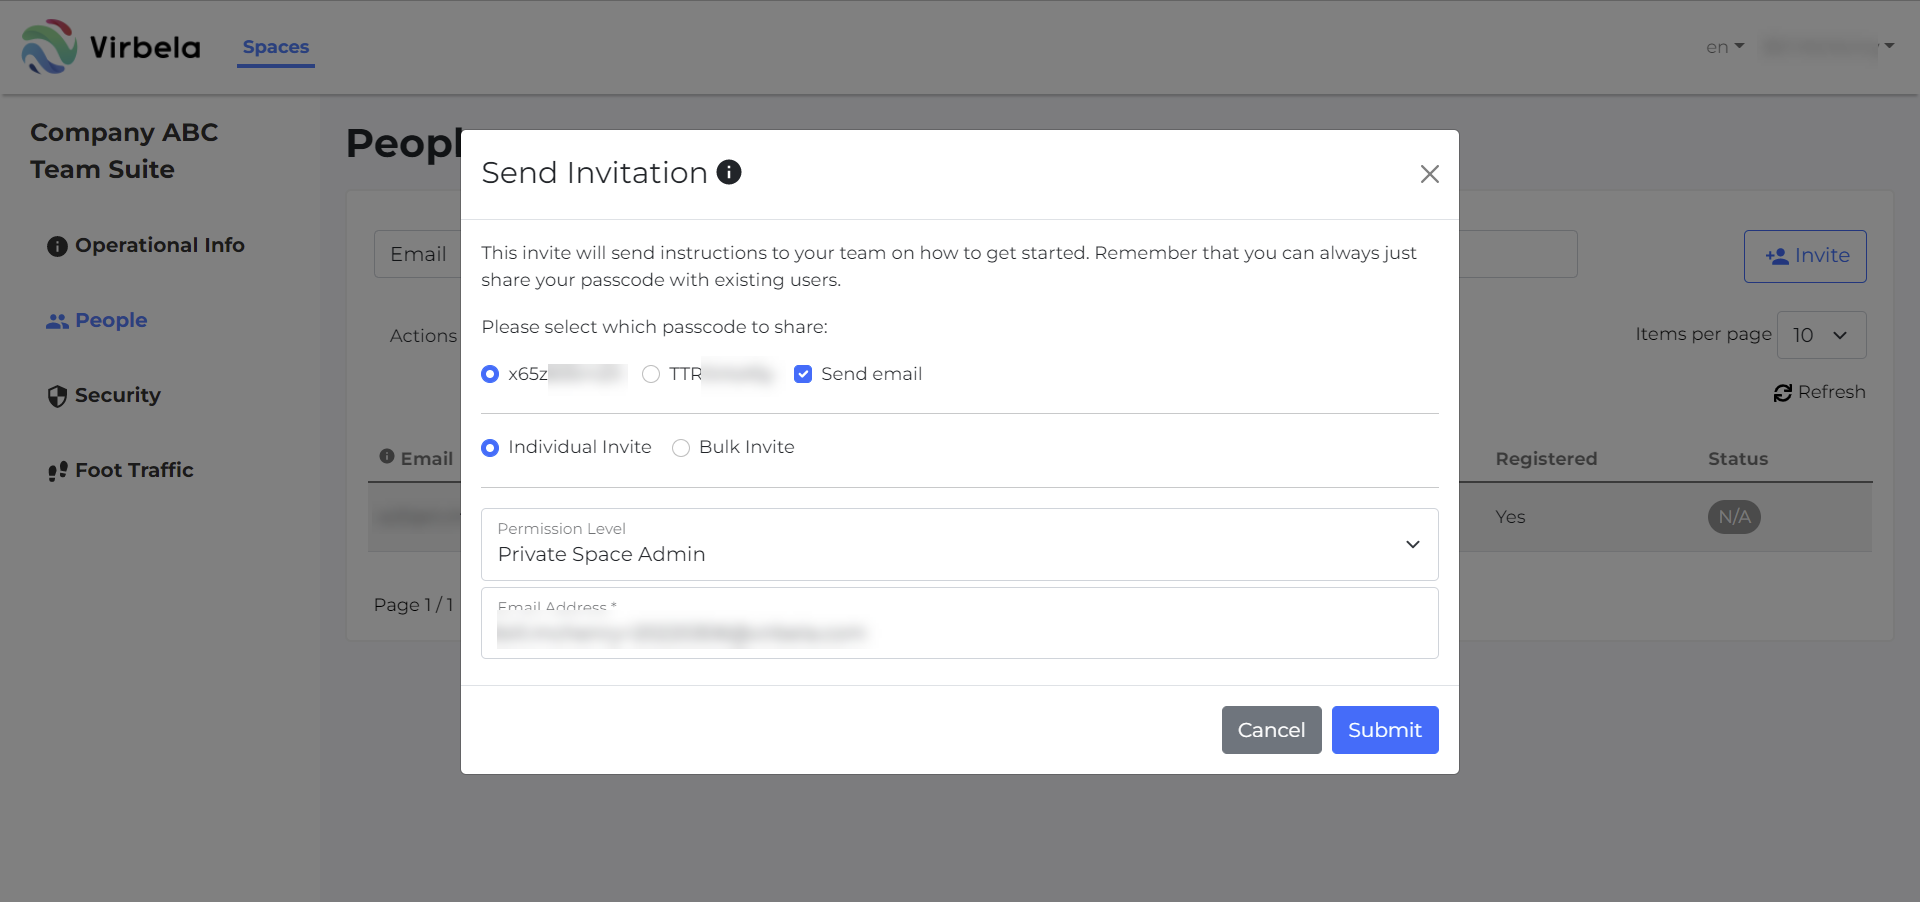
If the private space owner wants to invite the user individually, the private space owner should select “Individual Invite.” If there are two or more users, consider using the “Bulk Invite” option, discussed in the next section.
The private space owner or admin can choose the permission level for the new user (private space administrator, private space moderator, private space member). Please see the permissions section for more details. There is also an option for “private space suspended,” meaning the system will invite the user, but they will not have access to the private space.
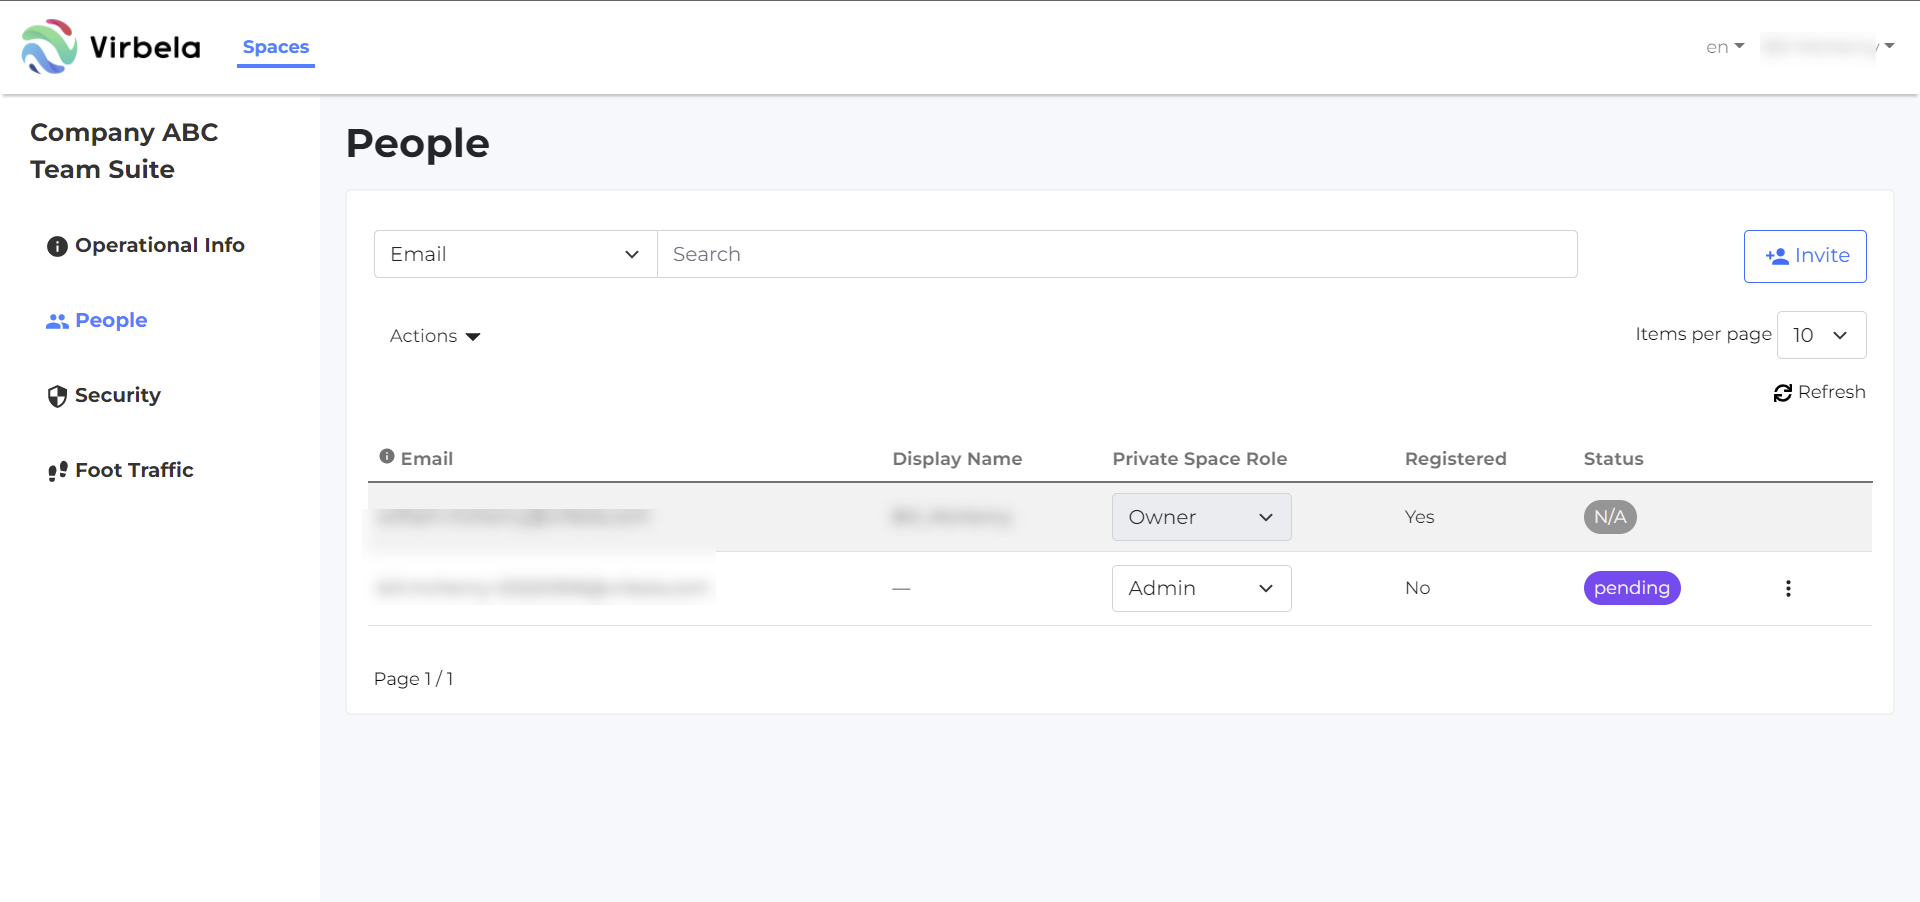
Click submit to add the user and send out the invitation email if the option is selected. After clicking submit, the user is automatically added to the list but will remain in the “pending status” until they accept the invitation.
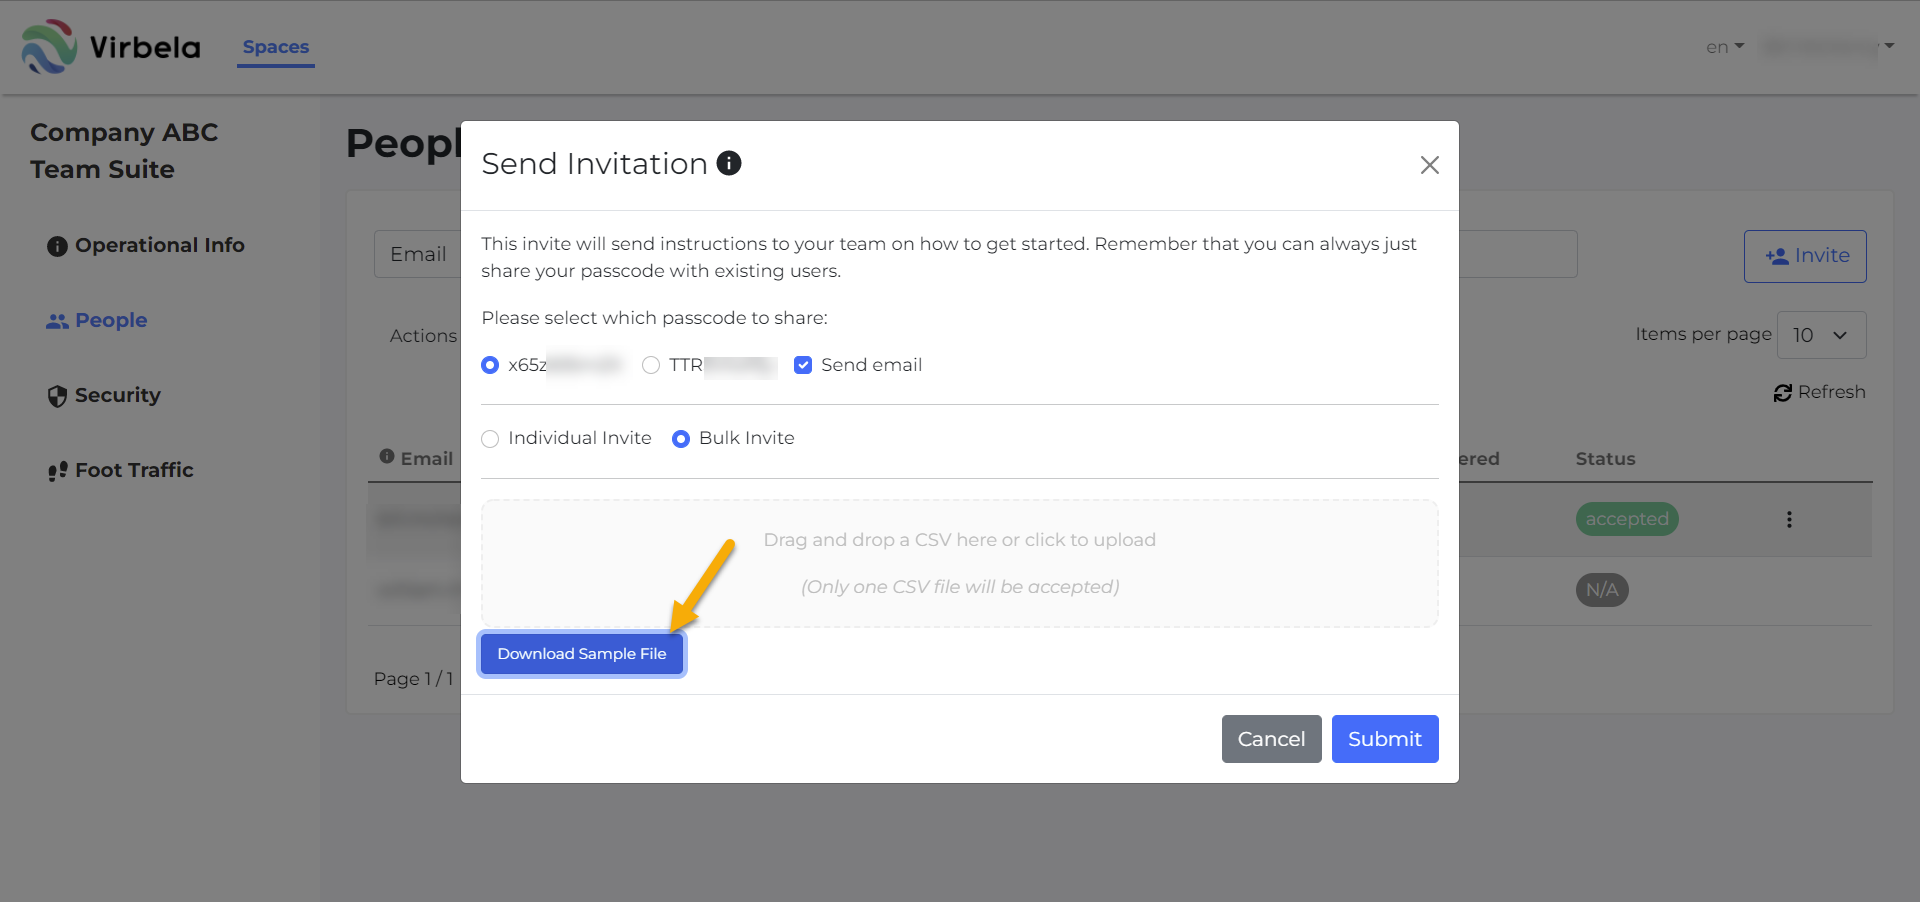
Bulk invite users
The private space owner or admin can invite two or more users at once using the bulk invitation tool. This process also allows the private space owner or admin to choose what passcode to send in the invitation email or opt-out of sending the invitation email.
The private space owner or admin can download a sample CSV file to ensure they fill out the information correctly.
Enter the email address and each user’s role in the CSV file. Ensure there is a comma between the user and the role.

Next, save the CSV file to your computer and either drag the file and drop it in the gray area of the invitation screen or select the gray area of the invitation screen and select the file using your File Explorer.

Finally, click submit to add the users and, if selected, send the invitation email.
Once the private space owner or admin submits the new users, those users are automatically added to the People tab:
The private space owner will receive an email indicating what users were added successfully.
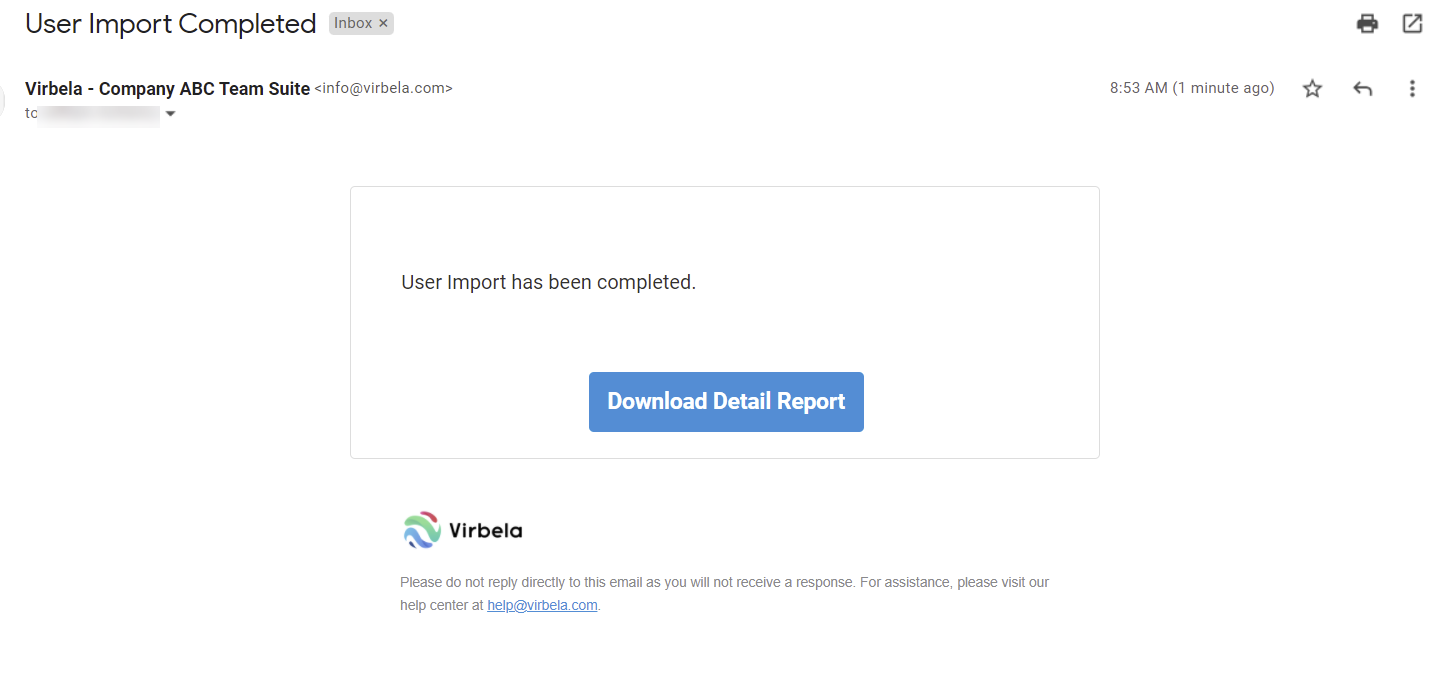
Clicking “download report” shows the results of the user import.

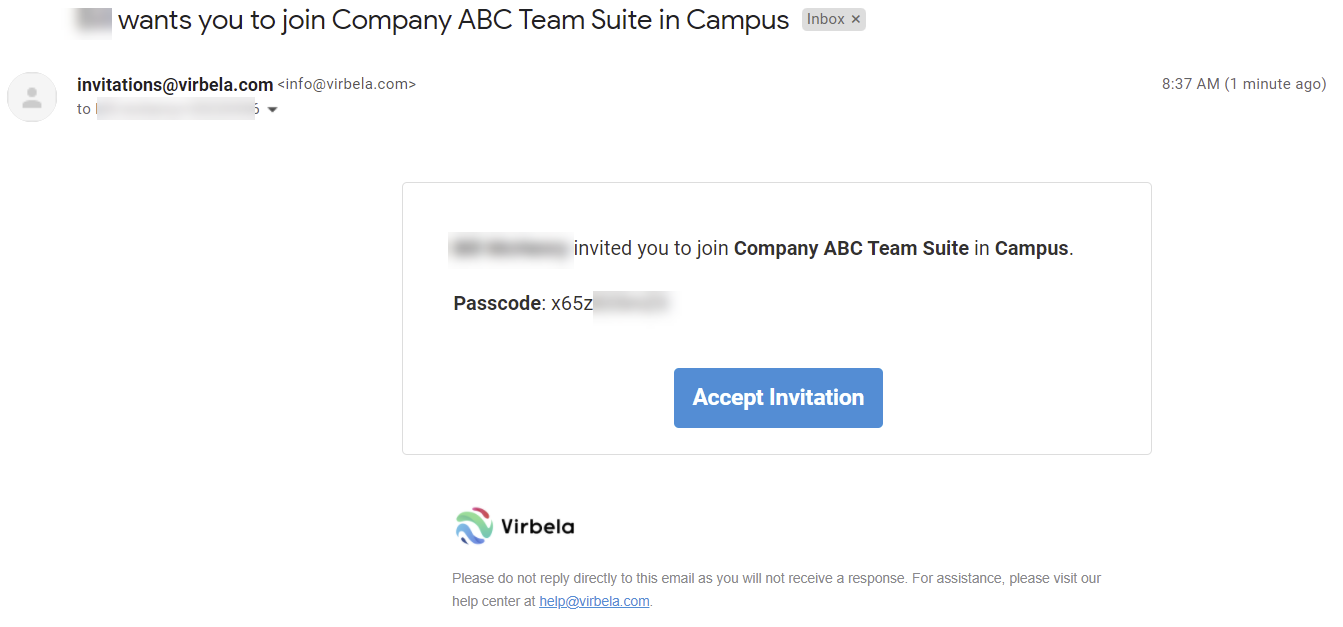
Process for users who received an invitation to register
Users who were sent an invitation will receive an email like the one below. The steps for this process are identical if the user was invited individually or through the bulk invite. Please note: if a user did not receive the email immediately, please check their spam folder.
If this is the user’s first time with Virbela, they will need to register and click “sign up.”
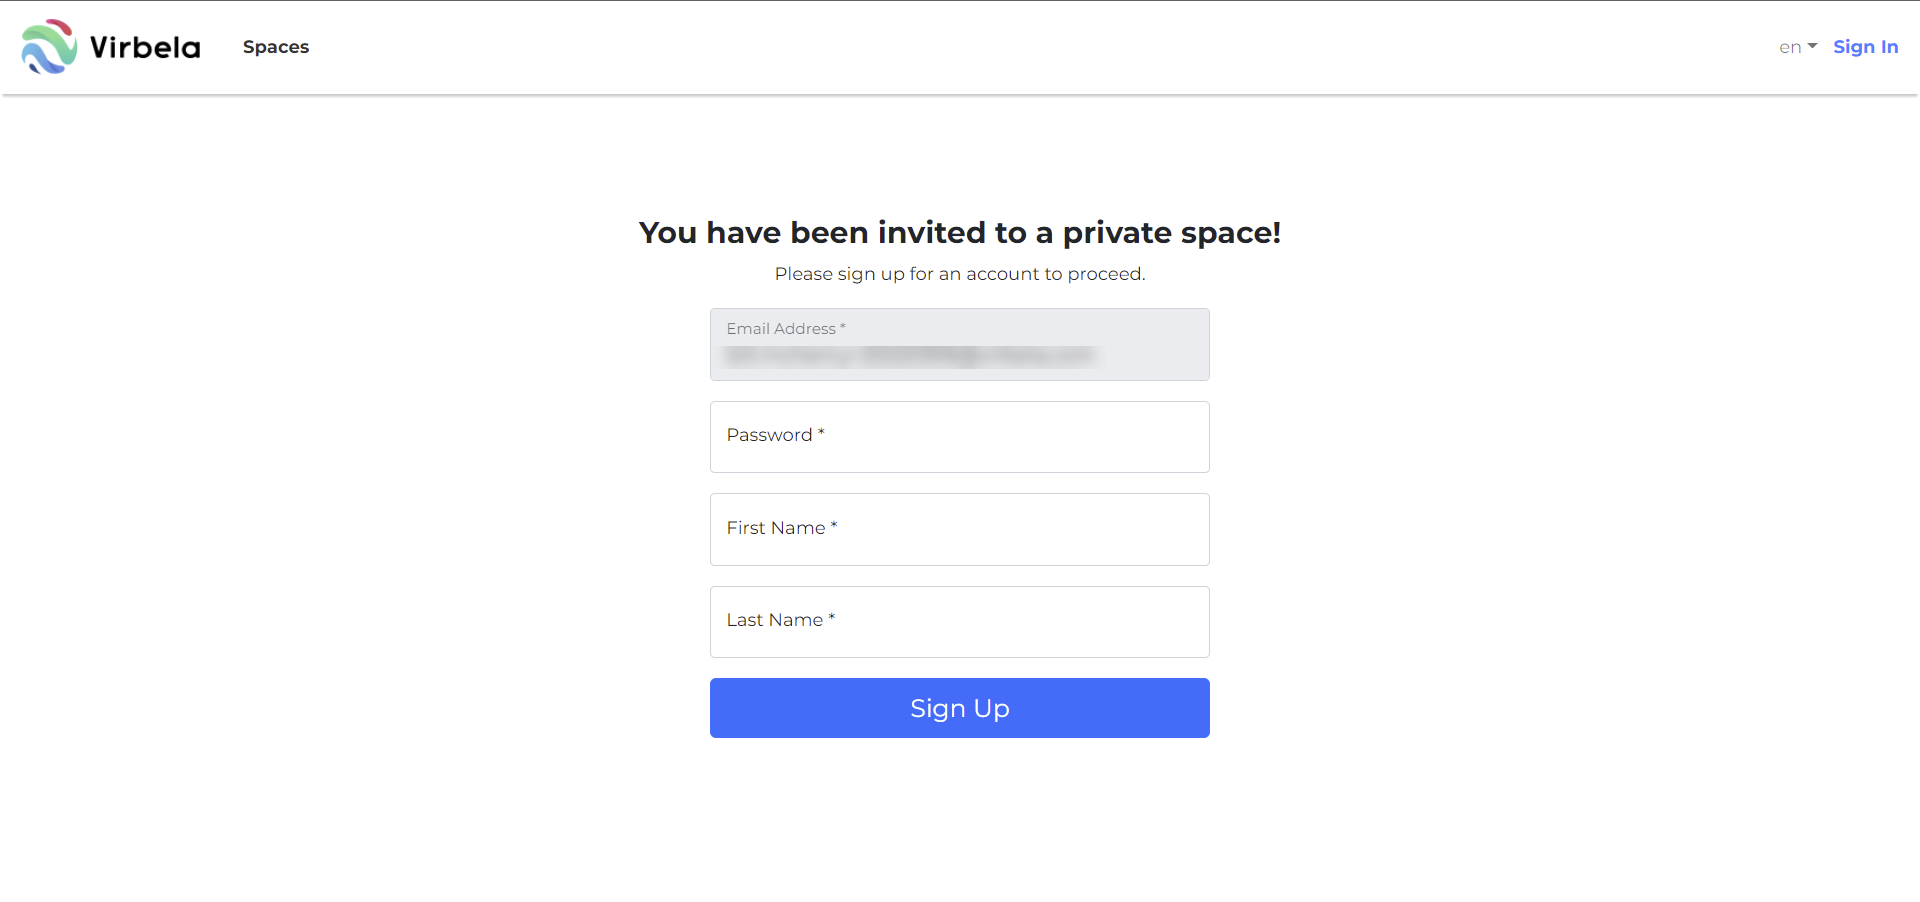
Once the user successfully registers, they will see this screen:
In addition, note the user’s status has changed in the People tab of the space management portal:
Resend or delete an invitation
Private space owners and admins could choose to resend an invitation to a user if they did not receive the original invitation. Additionally, the private space owner or admin can delete the invitation. Selecting the three dots at the rightmost part of the user’s role provides these options. NOTE: these options will only appear before a user accepts their invitation.

Resend invitation
To resend an invitation, click “resend the invitation.” A prompt will appear to allow you to select which password to send to the user.
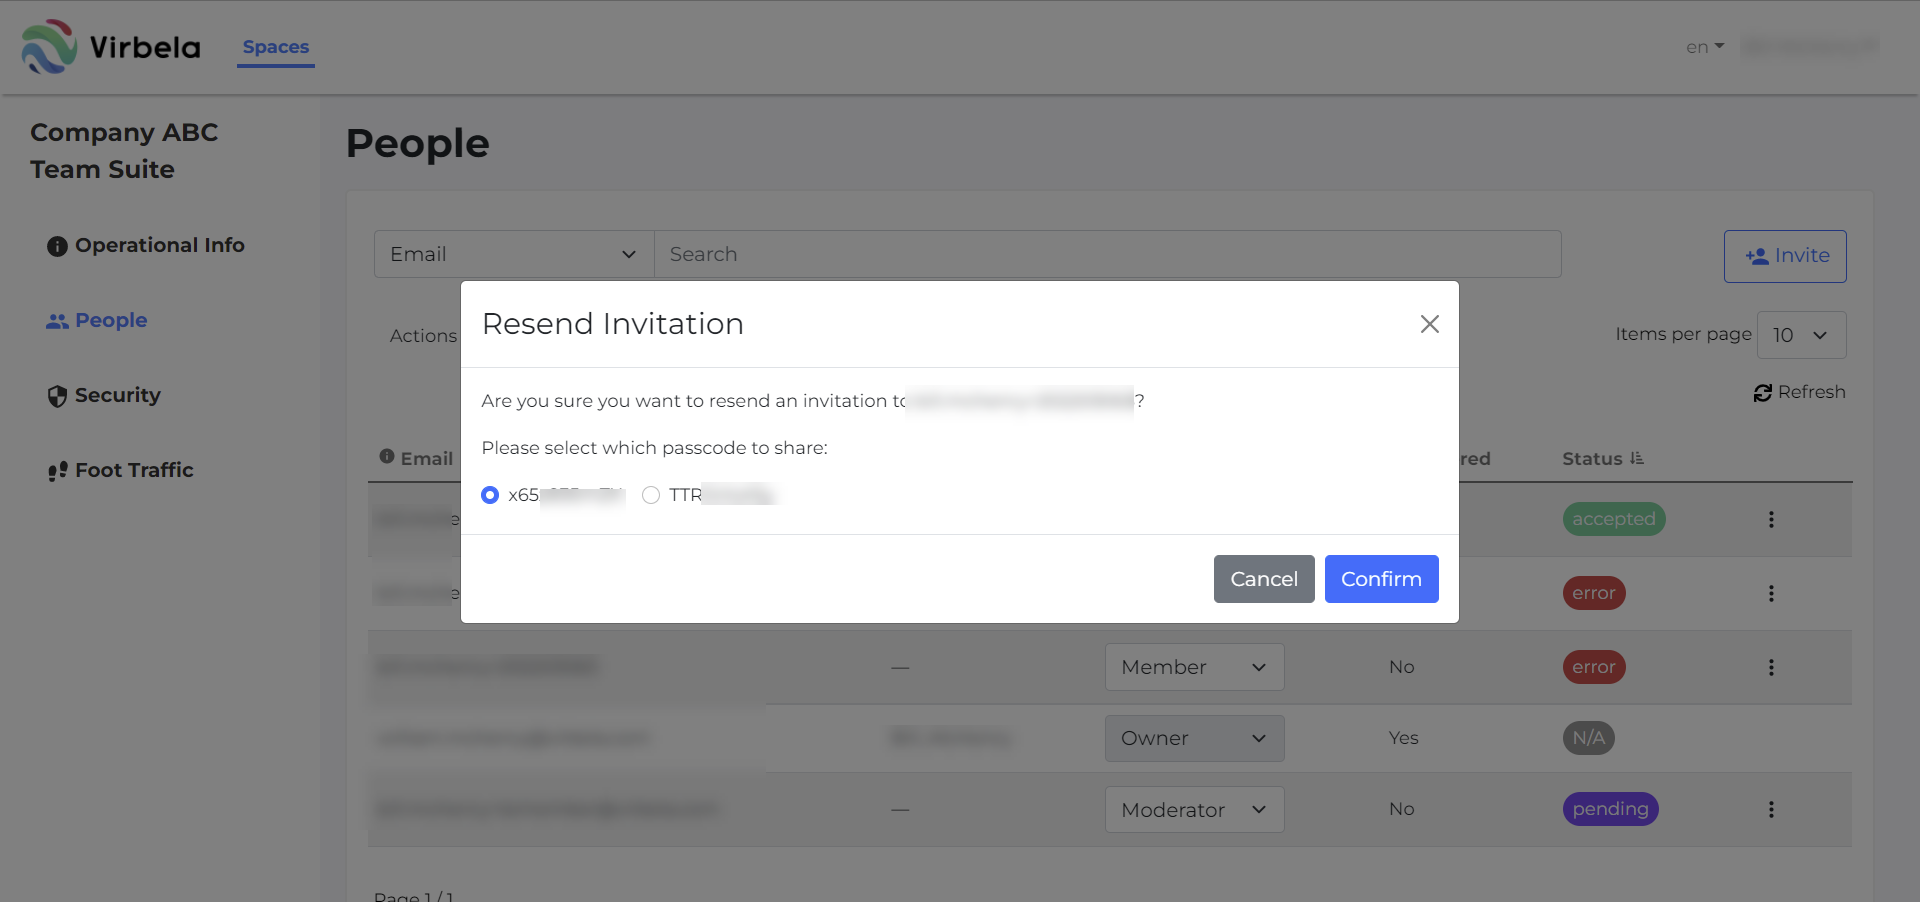
NOTE: This invitation supersedes any older invitation. If a user clicks the link in an older invitation, it is no longer valid.
Delete invitation
Deleting the invitation causes the invitation link to expire. The user can no longer register if they click the link.
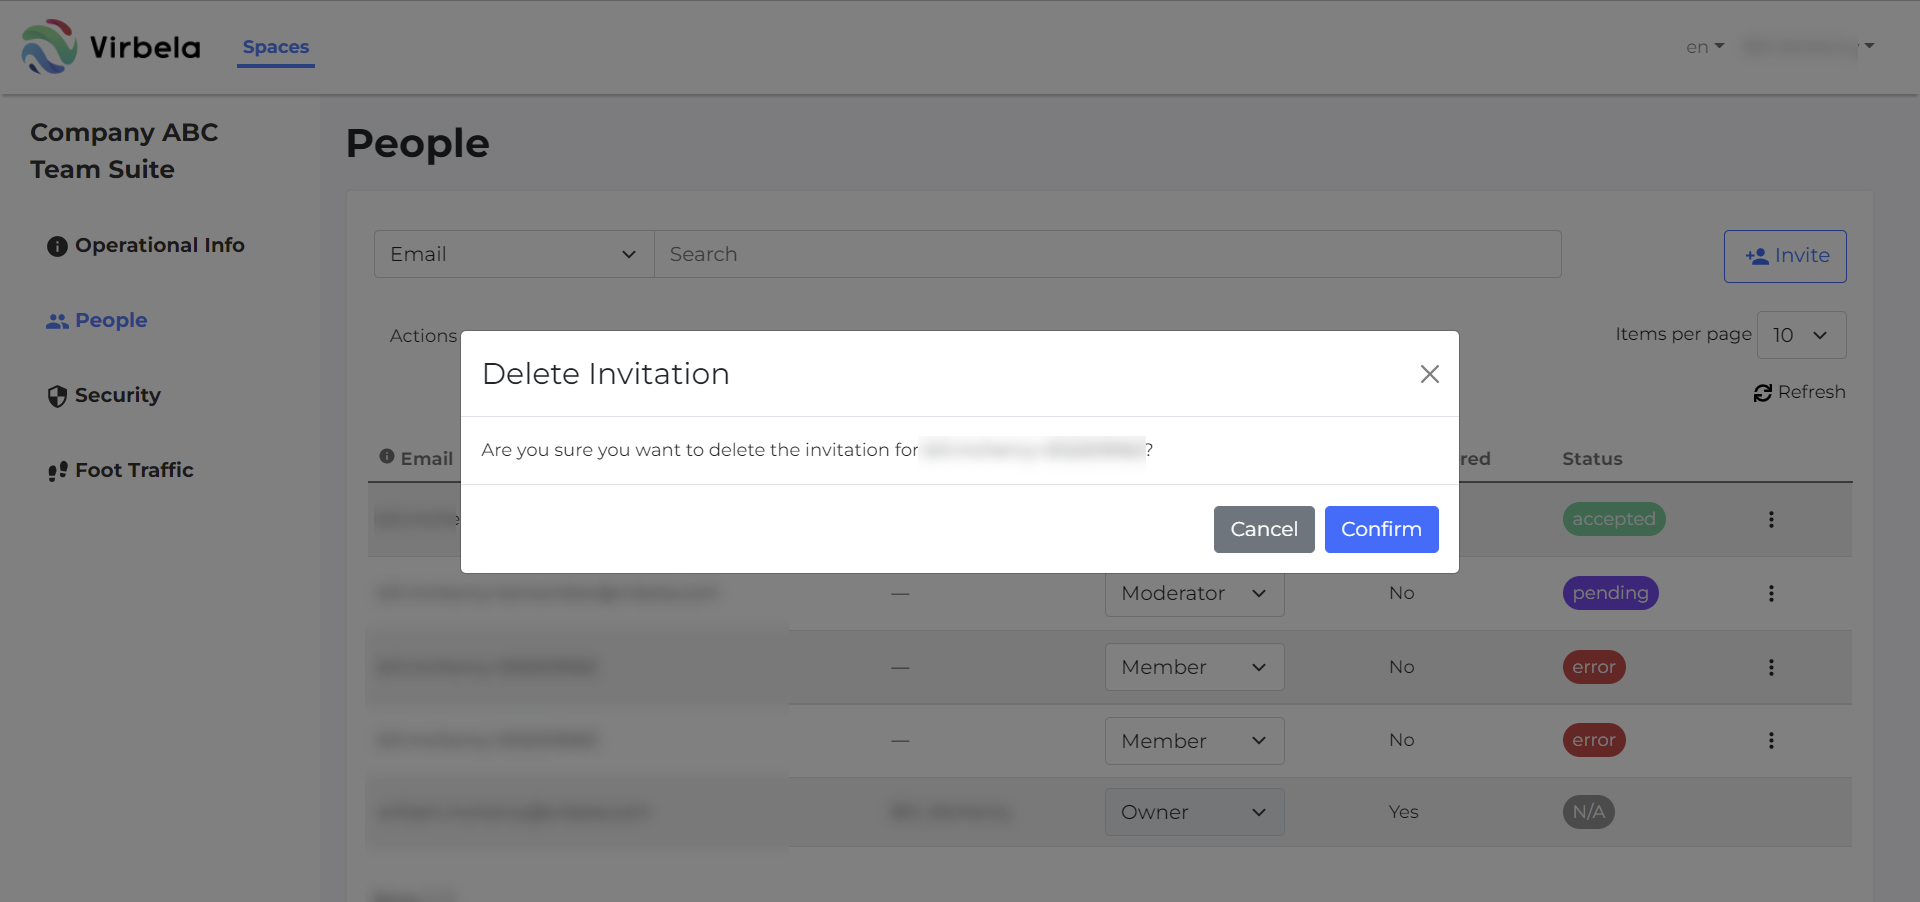
Deleting an invitation will also remove the user from the People tab.
Delete user
Campus owners and administrators can delete users from the campus through http://app.virbela.com. Deleting a user from the campus also removes the user from any private spaces.
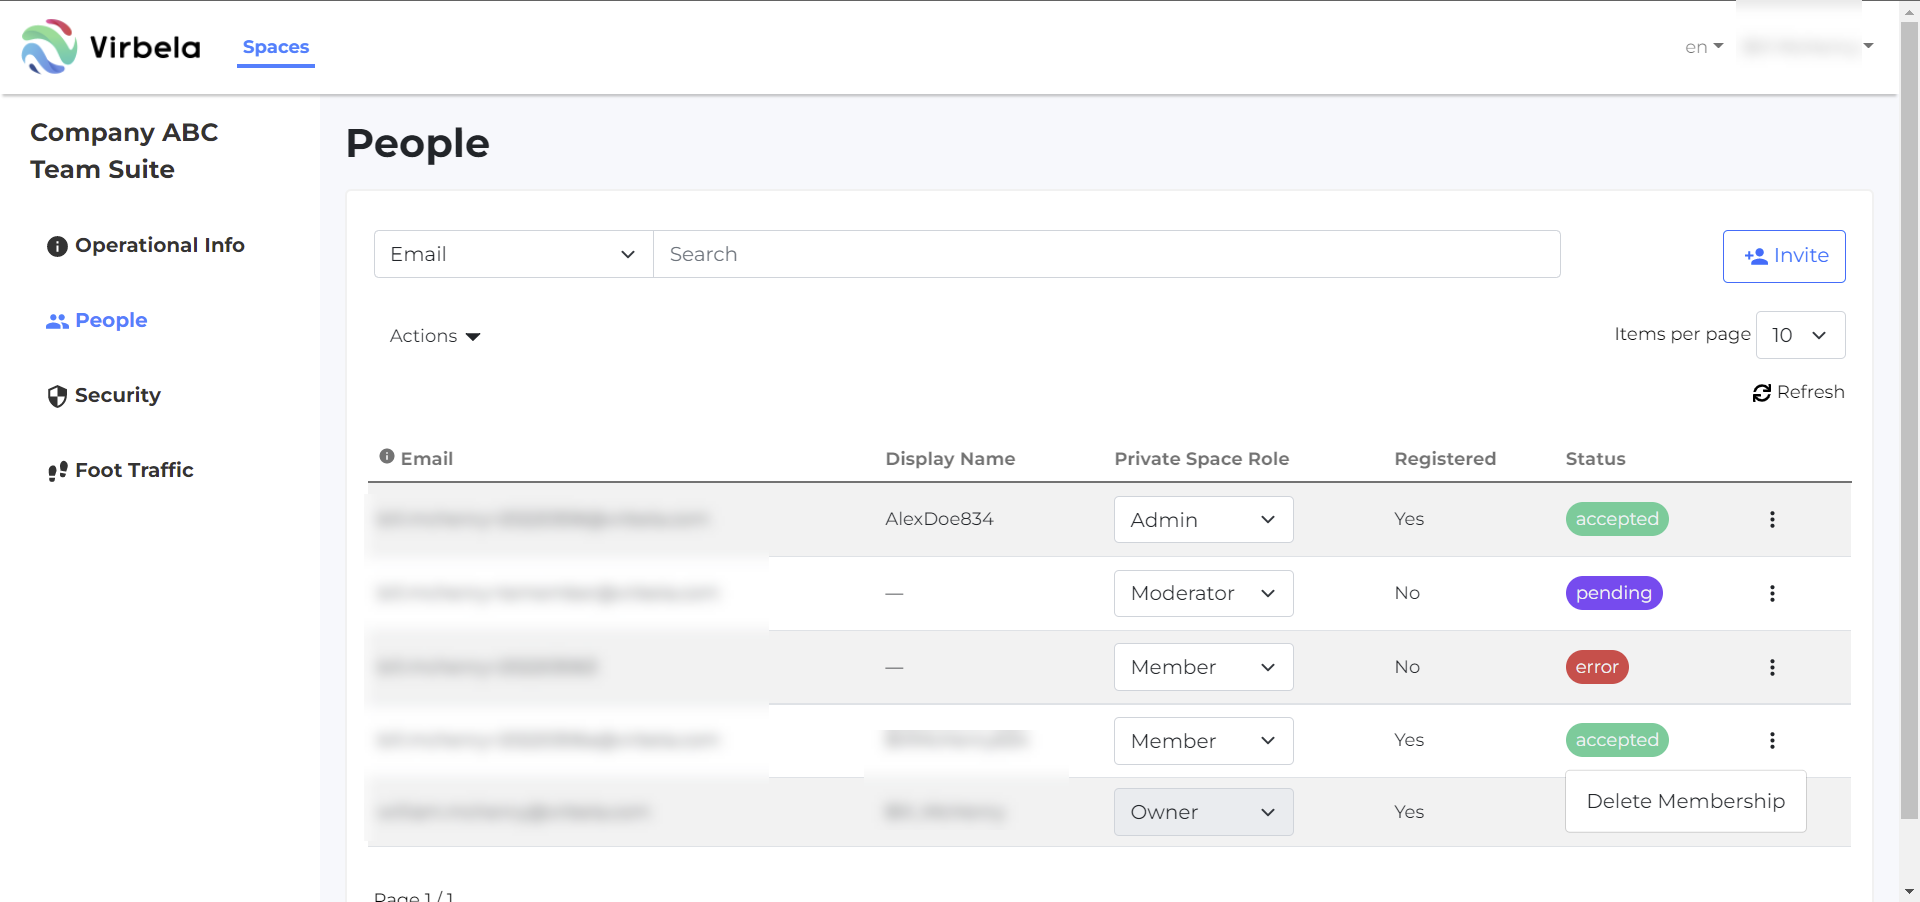
In addition, private space owners and administrators can remove users from accessing their private space. In the People screen, there is an option to delete membership.
By confirming, the user no longer is a member of the private space.
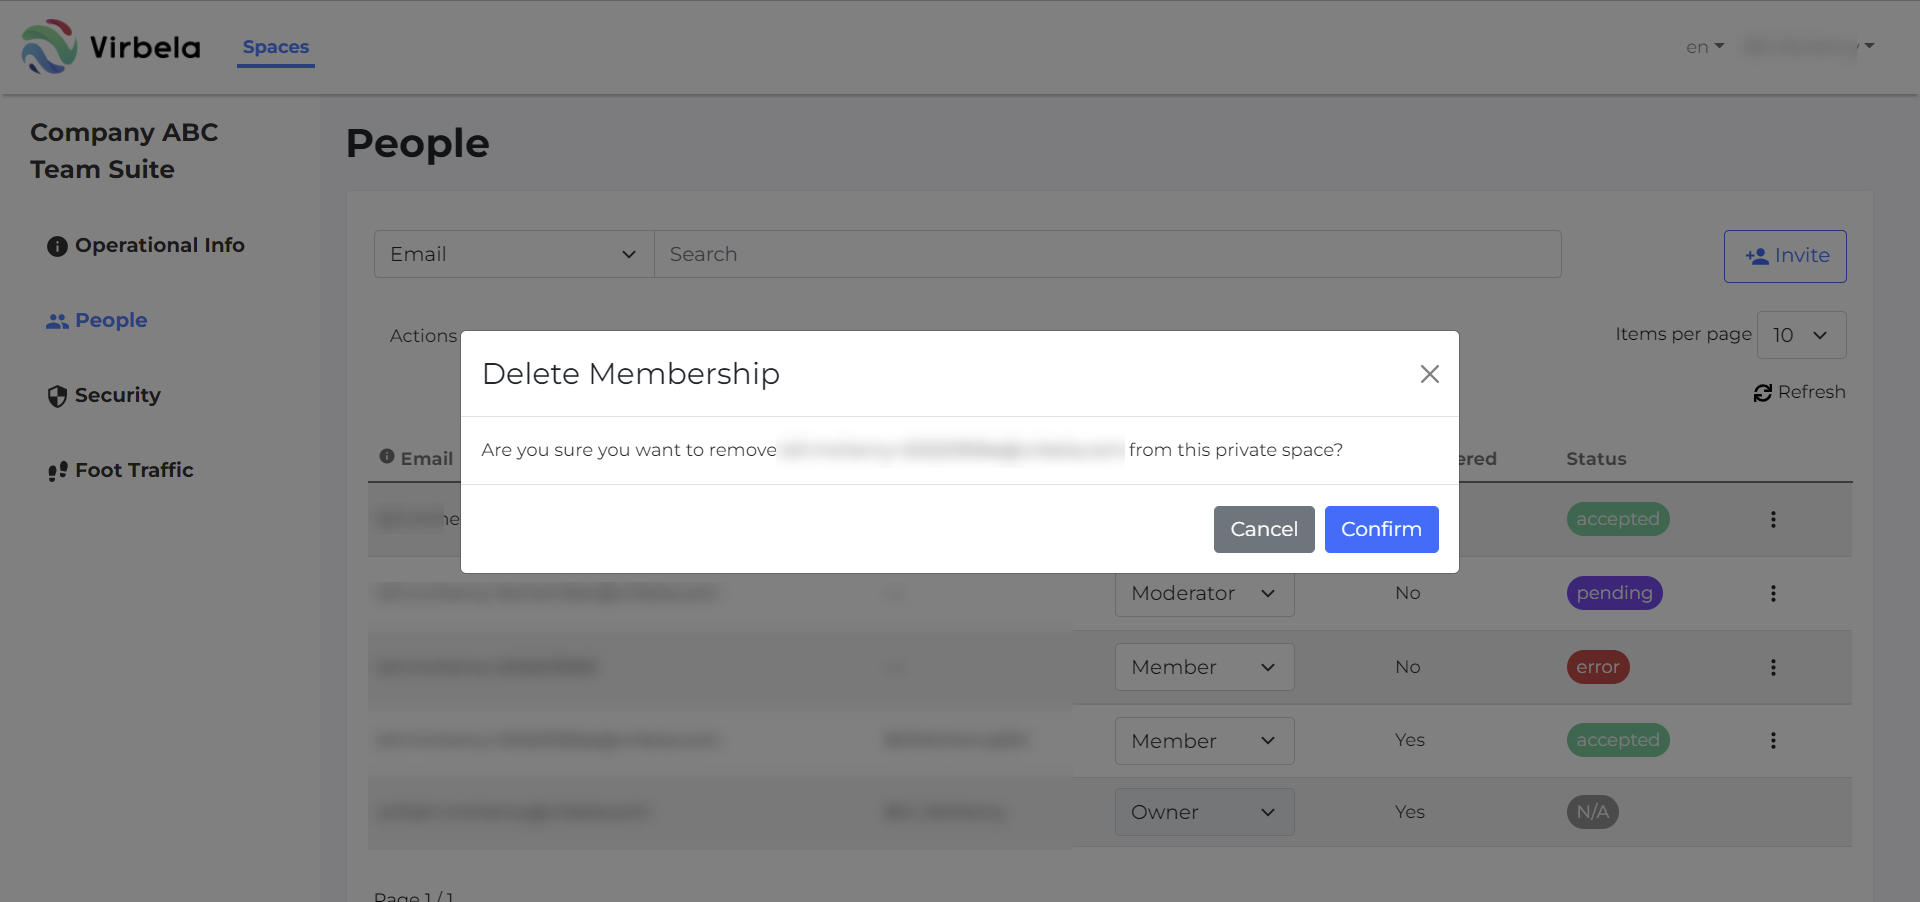
However, this user can still access the campus. Also, it is recommended the private space owner or administrator change the room passcode. Even after being deleted, any user with the passcode can still access the space.
Managing user access through the security tab
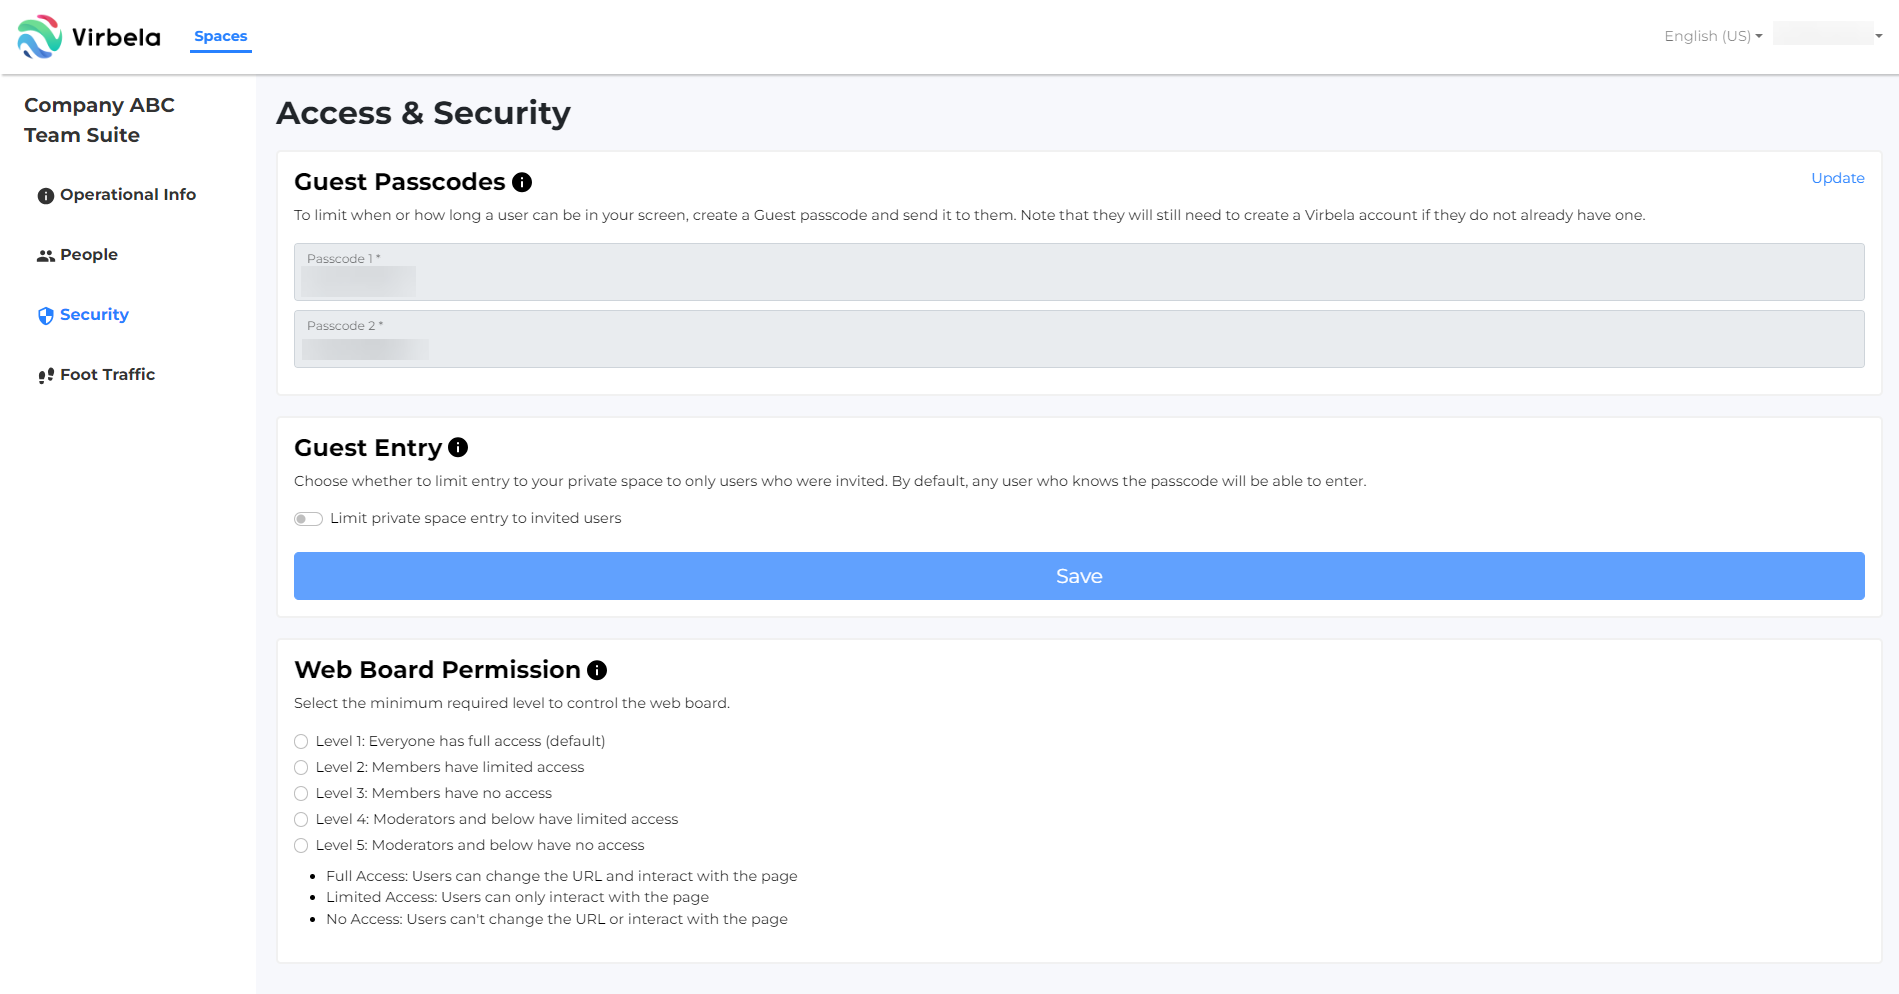
Private space owners and administrators can manage private space passcodes and user permissions in the security tab.
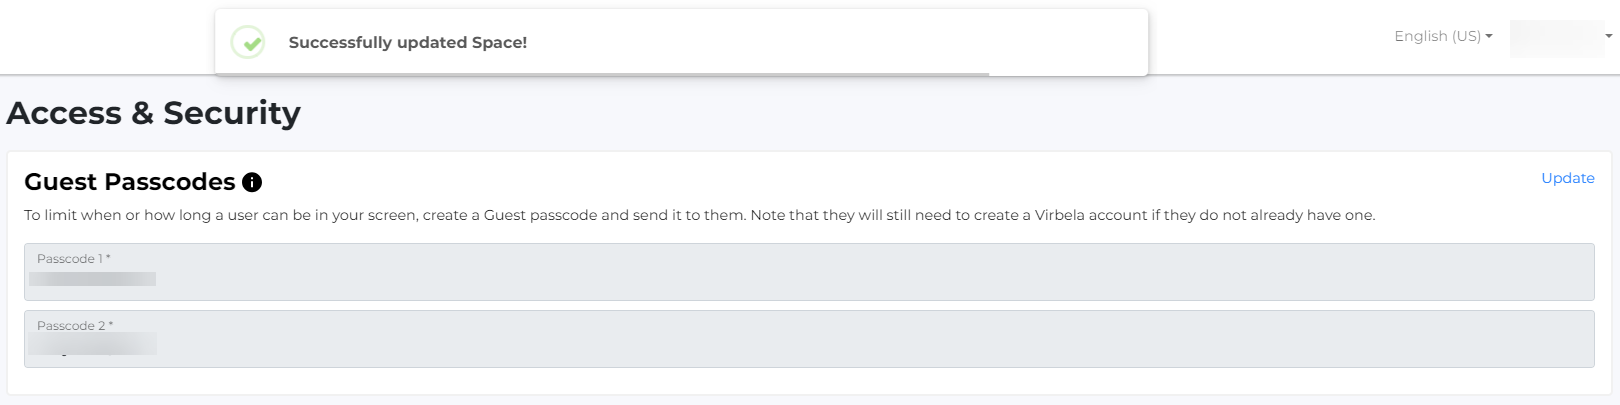
Manage passcodes
Virbela users can use a passcode to enter the private space on the campus. The private space owner or admin can set and update the passcode using the space management portal.
Two passcodes are associated with each private space. These passcodes are identical; passcode 1 provides identical access and permissions as passcode 2. However, private space owners and admins often choose to share Passcode 1 with trusted colleagues, whereas they may share Passcode 2 with any guest.
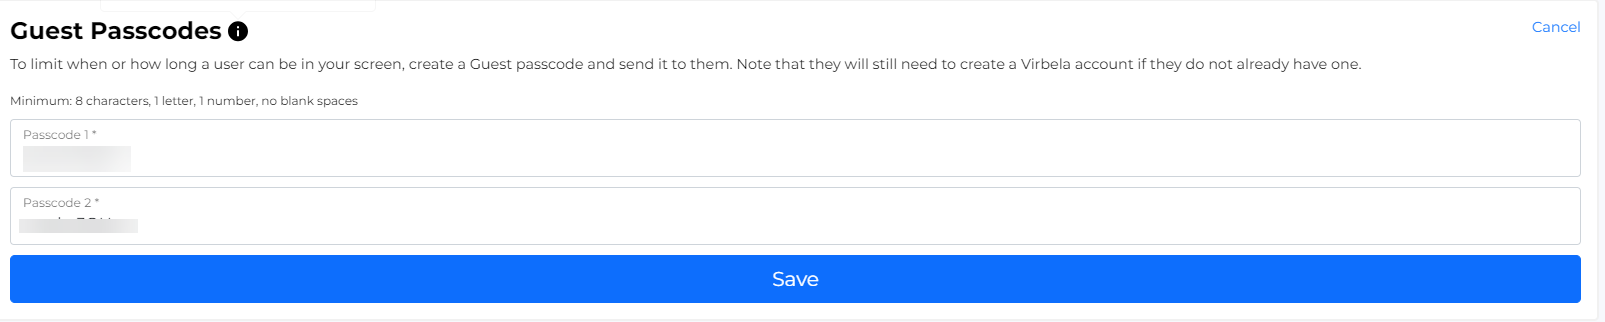
Passcodes are automatically assigned to a private space upon its creation. However, the private space owner or admin can change the passcode by selecting the “update” button.

Each character must have eight characters and include both letters and numbers.
The passcode is how Virbela knows which private space to send a Virbela user. Therefore, two or more private spaces cannot use the same passcode. If the private space owner or admin enters a passcode already in use, they will receive an error message and will need to choose a different passcode.
After the private space owner or admin enters their passcode, they must click “save” to allow the changes to take effect. Changes to passcodes happen immediately, so a Virbela user does not need to restart the application for the new passcode to take effect.
Managing guest access
By default, if a user has the passcode to a private space, that user can enter the private space regardless of whether they have been invited.

If a private space owner wants to restrict access to only those invited, they can toggle “Limit private space entry to invited users” to on. Changes are not made until the private space owner clicks “save”.

With this feature enabled, users can only access the private space if invited. If they have the correct passcode but have not been invited, they will receive this error.

Managing web board permissions
Private space owners and administrators can manage web board permissions by user role. The People tab controls Roles for individual users.
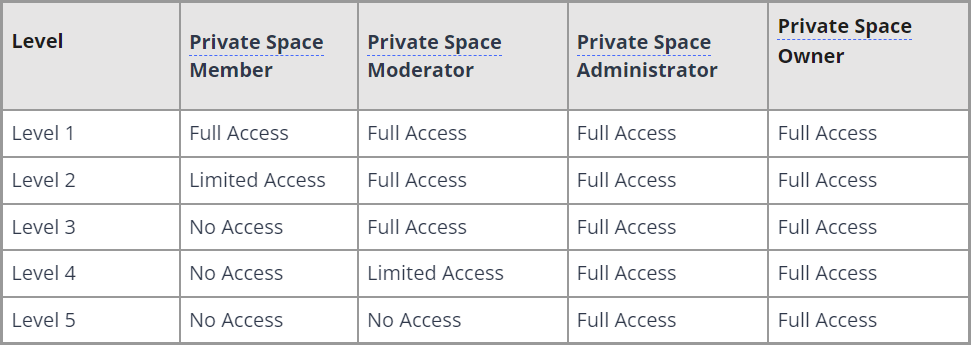
Private space owners and administrators can restrict usage based on the web board permissions level. PLEASE NOTE these only control the specific private space. These settings do not change how users interact with web boards on the campus or in other spaces.
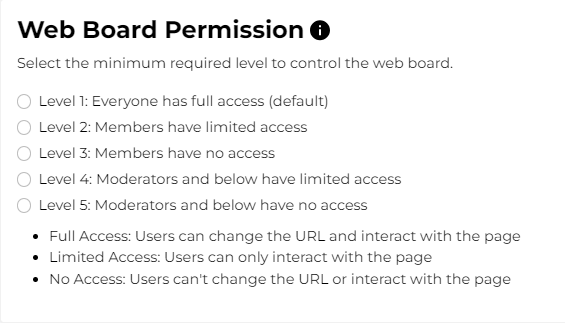
Please find descriptions of the levels below.
Private space owners and administrators must click save for any changes to take effect.
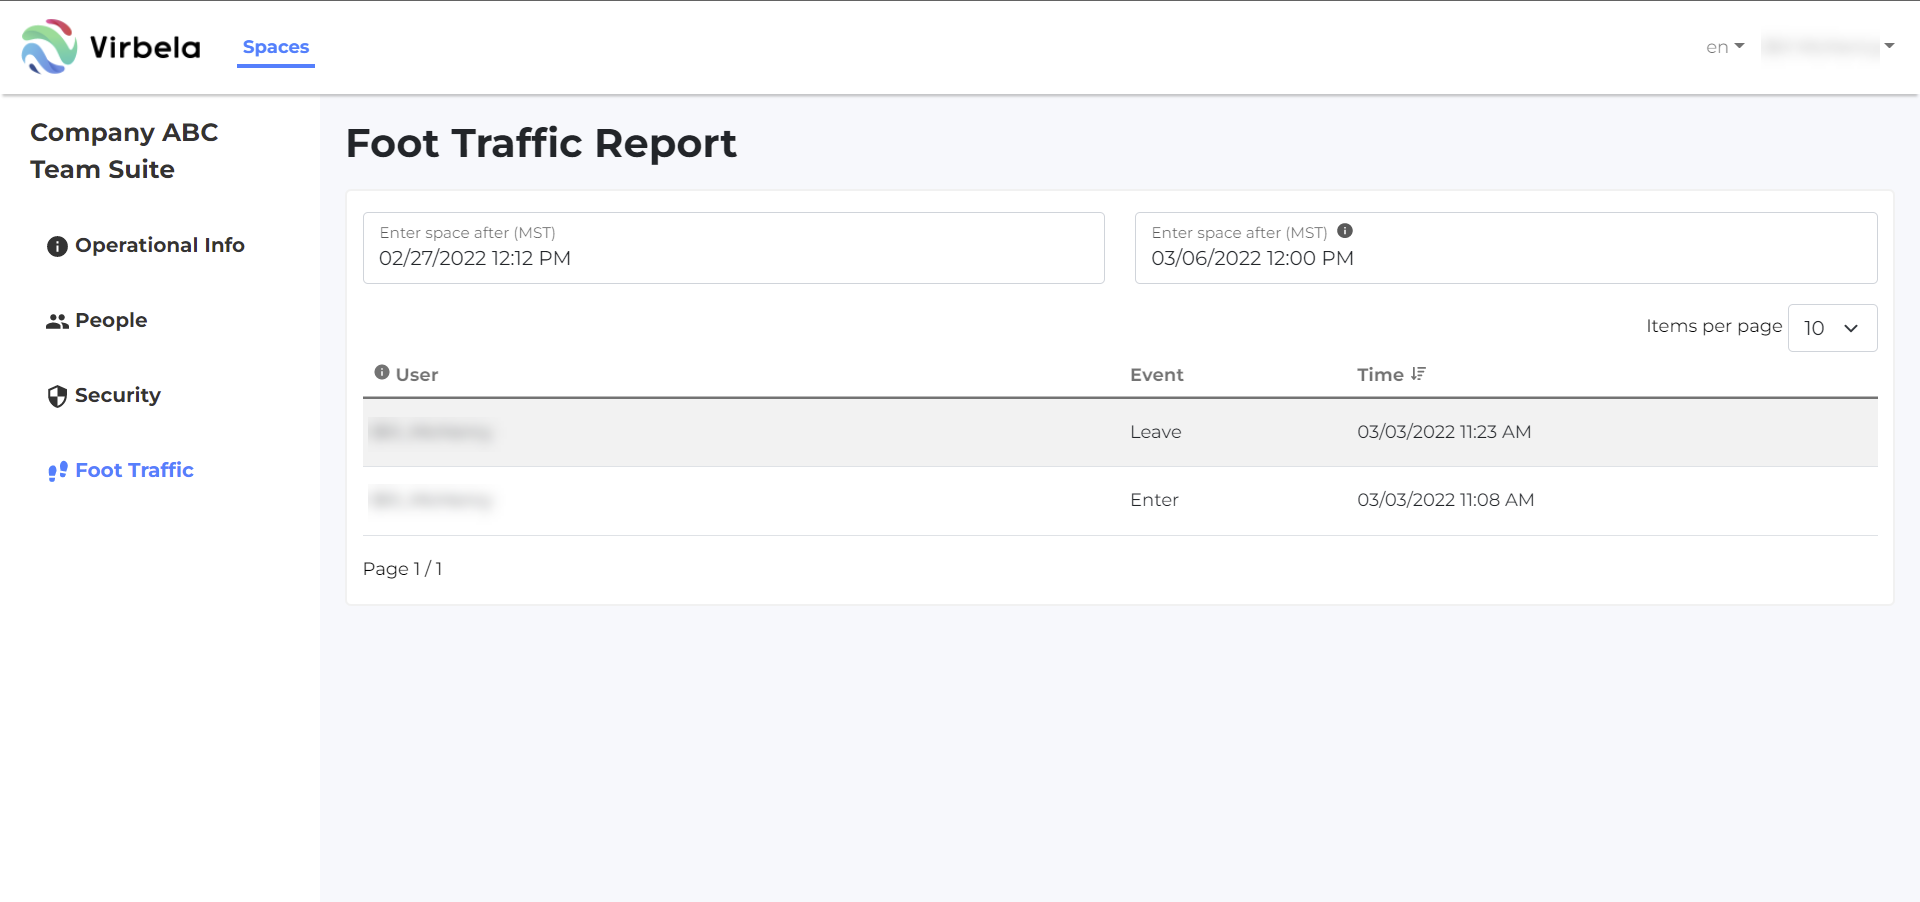
Foot traffic report
The foot traffic report allows private space owners to view what users have entered their private space based on a date range. The time zone is based on the web browser setting of the private space owner or administrator who is running the report. NOTE: private space administrators do not have access to this report.
The report shows a timestamp for when a user entered a room and left a room.
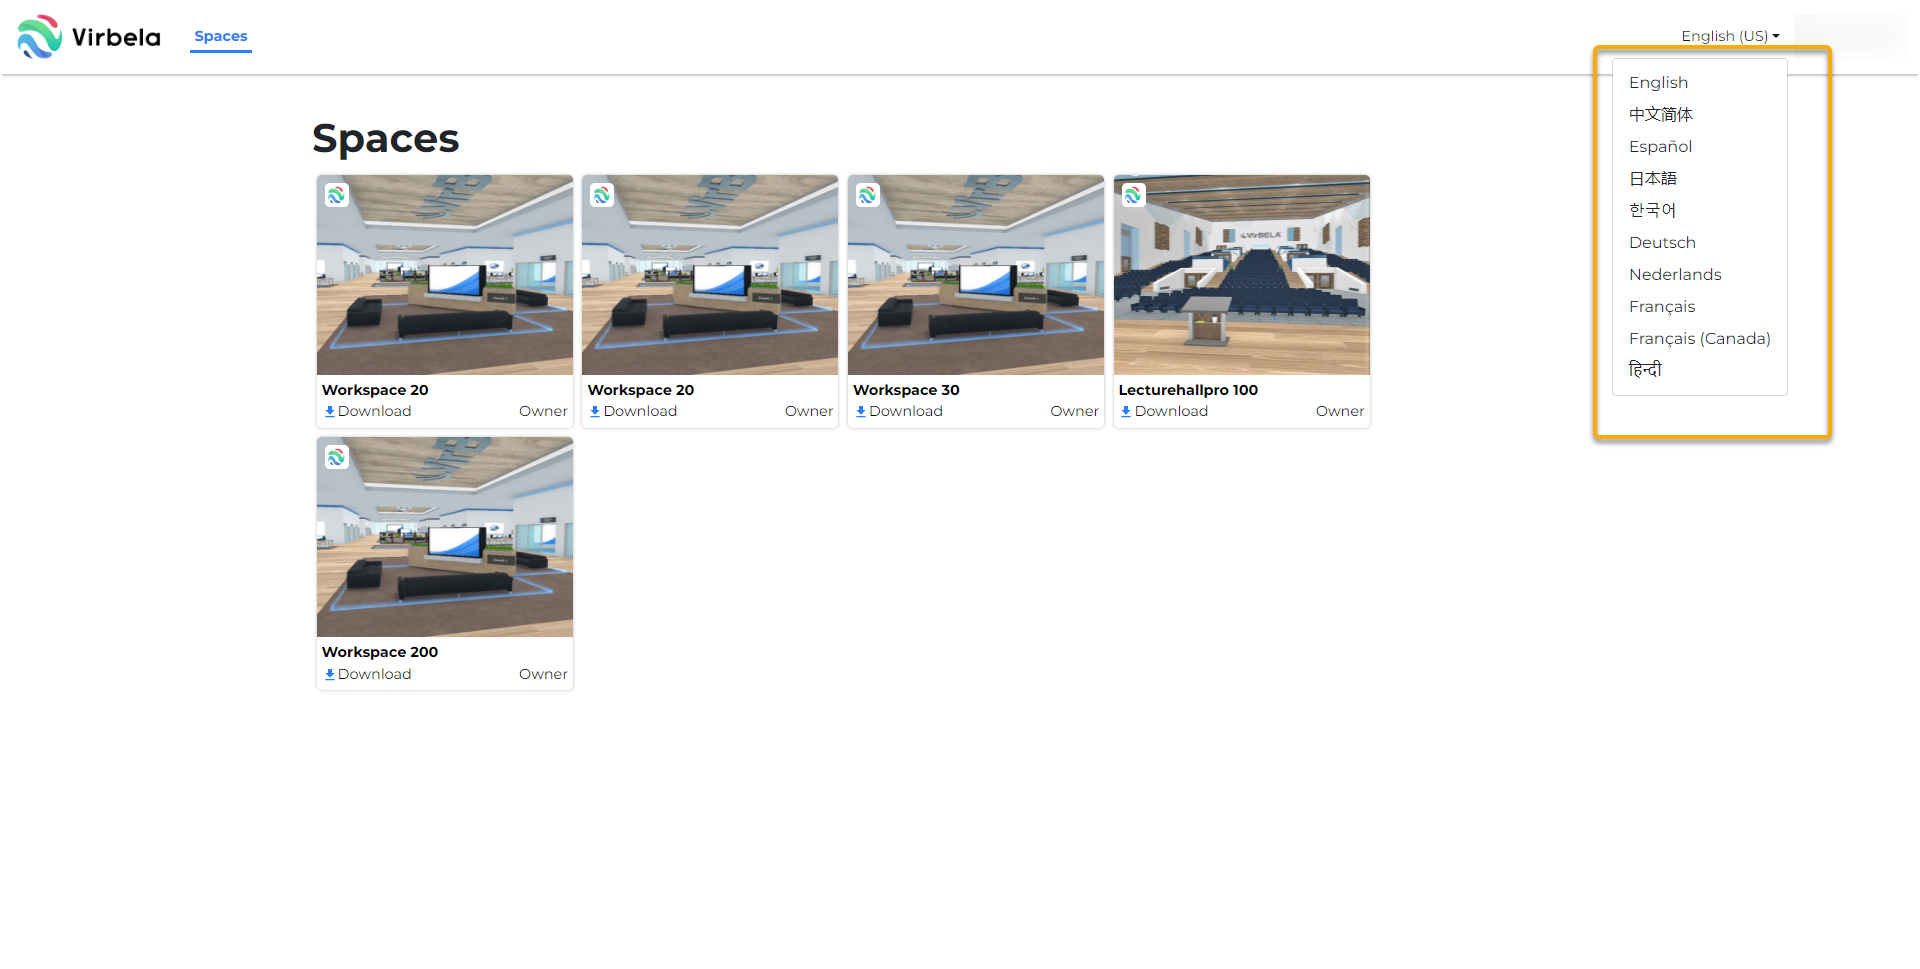
Supported languages
Currently, the space management portal supports four languages:
English
Chinese
Spanish
Japanese
Korean
German
Dutch
French
French Canadian
Hindi
private space owners and admins can change their language by selecting the dropdown next to their name. They can then choose any language.