
Screenshare 2.0 utilizes new functionality to improve the screen and webcam-sharing experience. This article details the process by which a user may engage in utilizing them.
If you do not see the presenter tool, you may not have screen share permissions. Contact your campus admin for assistance.
Note: Your private campus will need to be on version 2.8 or newer, and have requested that Screenshare 2.0 be enabled.
Important: if you are already sharing your screen or webcam, please note that you must first STOP the process by clicking on the illuminated icon 
 . You may then click the other button to initiate that feature.
Screenshare
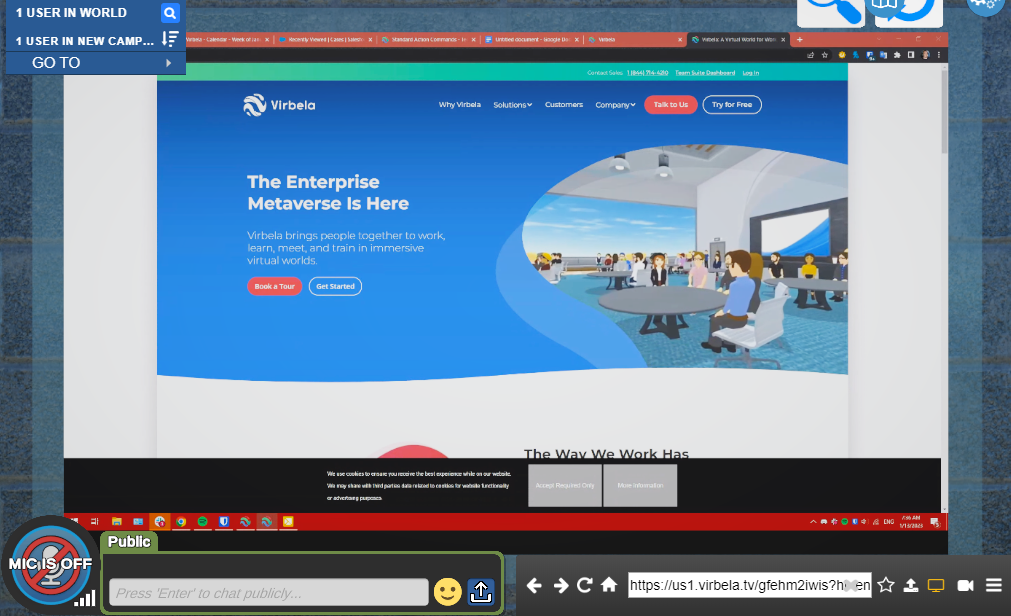
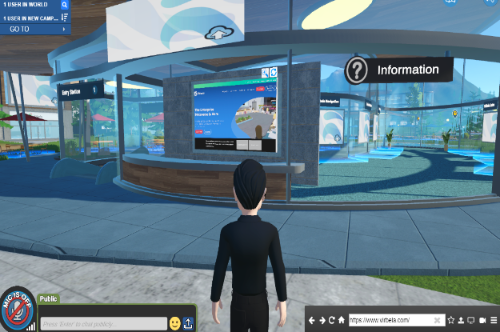
- Approach a presentation (“web”) board and click to interact with it, so that you can see the presenter tool in the bottom right corner of your screen.
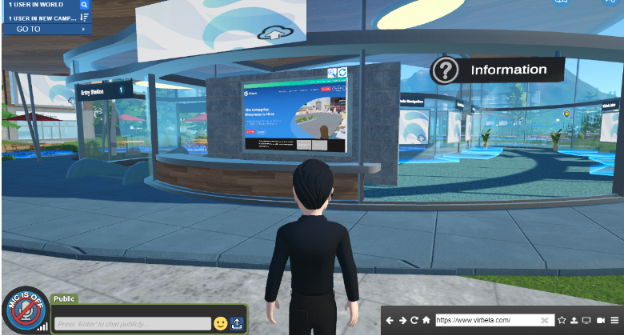
- Looking at the presenter tool, click the icon for screenshare.


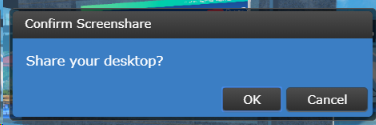
- Upon selecting screenshare, you will be prompted to confirm your choice. Click OK to continue. If you have selected an option you do not wish to use, click Cancel.
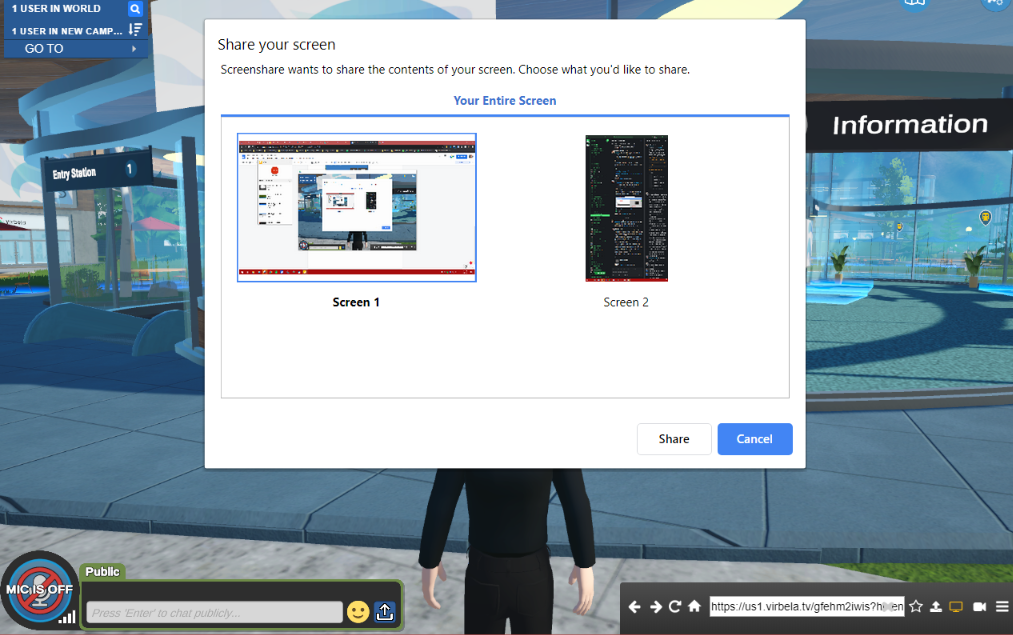
- After confirming Screenshare, a new window will appear, prompting you to select which monitor screen you would like to share.
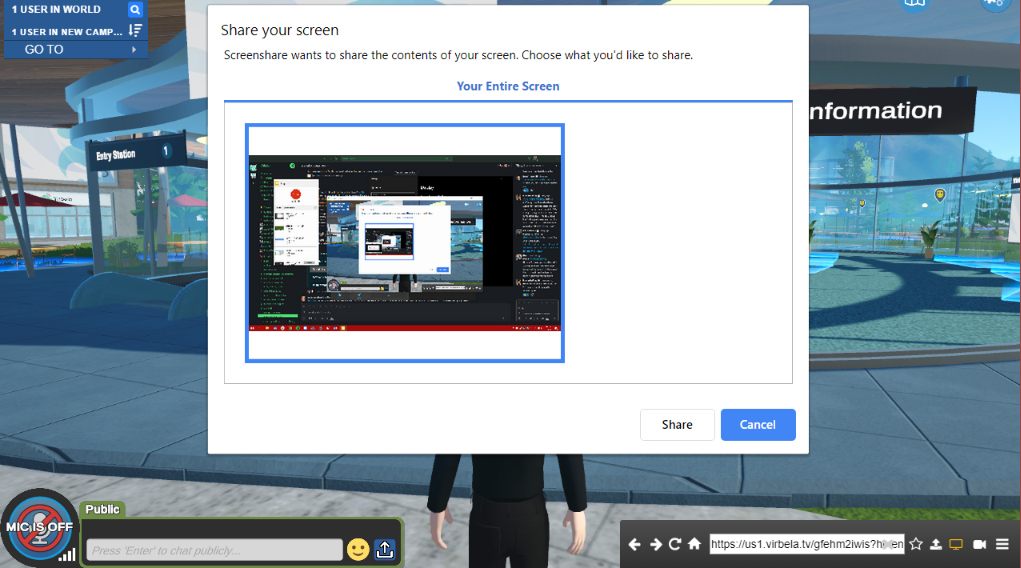
 If you only have one monitor, or are using a laptop without any additional monitors connected, you will still be prompted to confirm that you’ll be sharing your entire screen.
Note: you can tell which Screen is selected by the blue border that surrounds it, as well as the bolded text of “Screen #” below the illustration of your screen’s contents.
- The contents of your screen will then be shared to the webboard!
Note: the icon for Screenshare  has become illuminated in order to signify its use.
Important: If you have not already provided permissions for your operating system to allow Virbela to capture your screen’s contents, you may be prompted to do so now. Please close Virbela, provide the necessary permissions, and relaunch Virbela.
Webcam
- Approach a presentation (“web”) board and click to interact with it, so that you can see the presenter tool in the bottom right corner of your screen.
- Looking at the presenter tool, click the icon for webcam.

- Upon selecting webcam, you will be prompted to confirm your choice. Click OK to continue. If you have selected an option you do not wish to use, click Cancel.
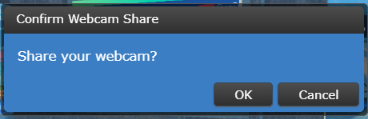
Note: Virbela automatically utilizes the first webcam that it finds associated with your computer, starting with any built-in cameras (such as in the top of a laptop’s lid). If you would like to utilize a different webcam, please go to your operating system’s device management application and disable the other cameras, then relaunch Virbela. If Virbela does not detect a webcam, the screen will appear black.
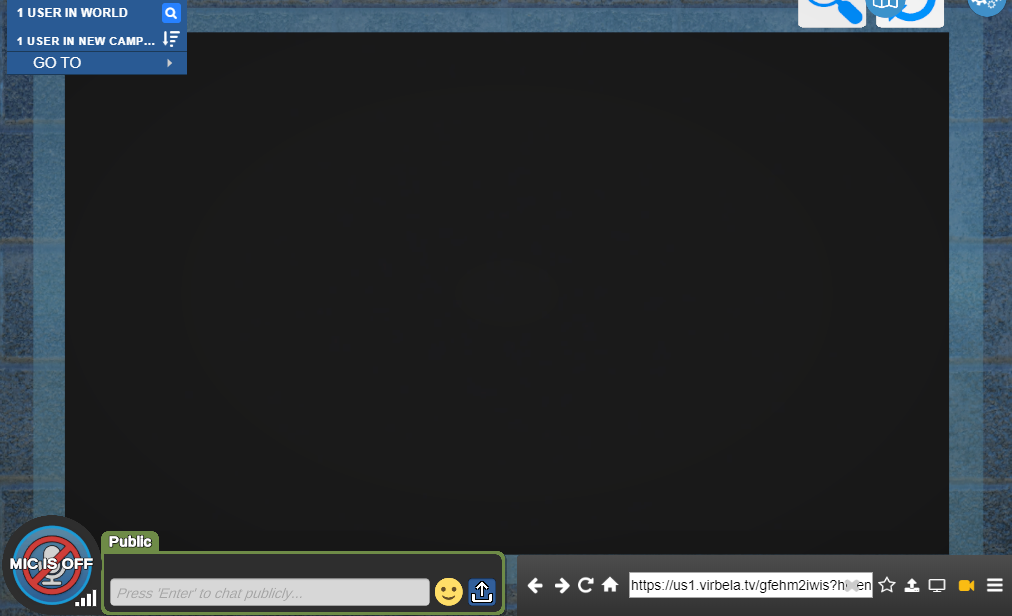
- Your webcam will then be shared on the webboard!
Note: the webcam icon has become illuminated in order to signify its use.
Important: If you have not already provided permissions for your operating system to allow Virbela to capture your screen’s contents, you may be prompted to do so now. Please close Virbela, provide the necessary permissions, and relaunch Virbela.
Important: if you are already sharing your screen or webcam, please note that you must first STOP the process by clicking on the illuminated icon . You may then click the other button to initiate that feature.